Bad Battery? There Might Be More To It
May 12, 2025
Read More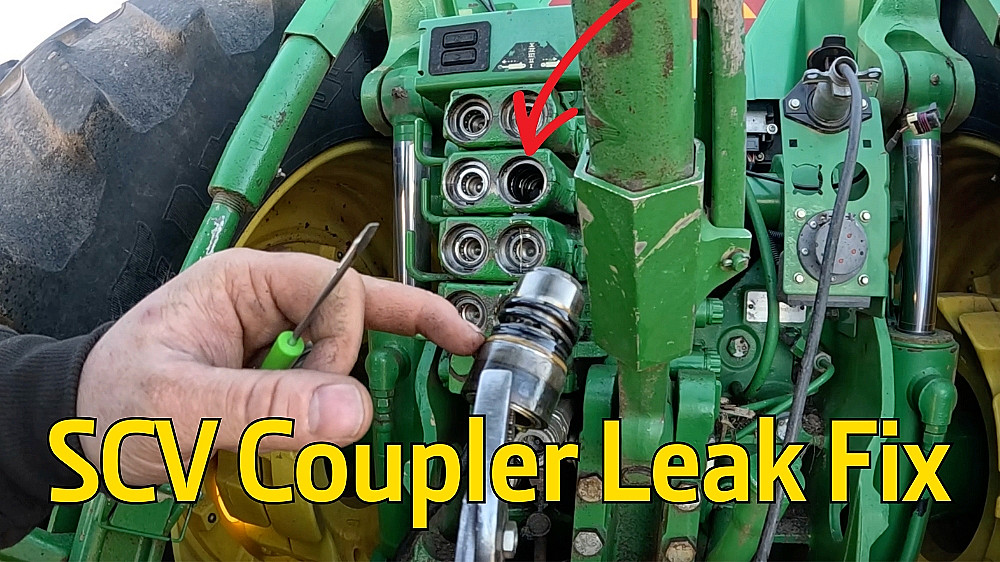
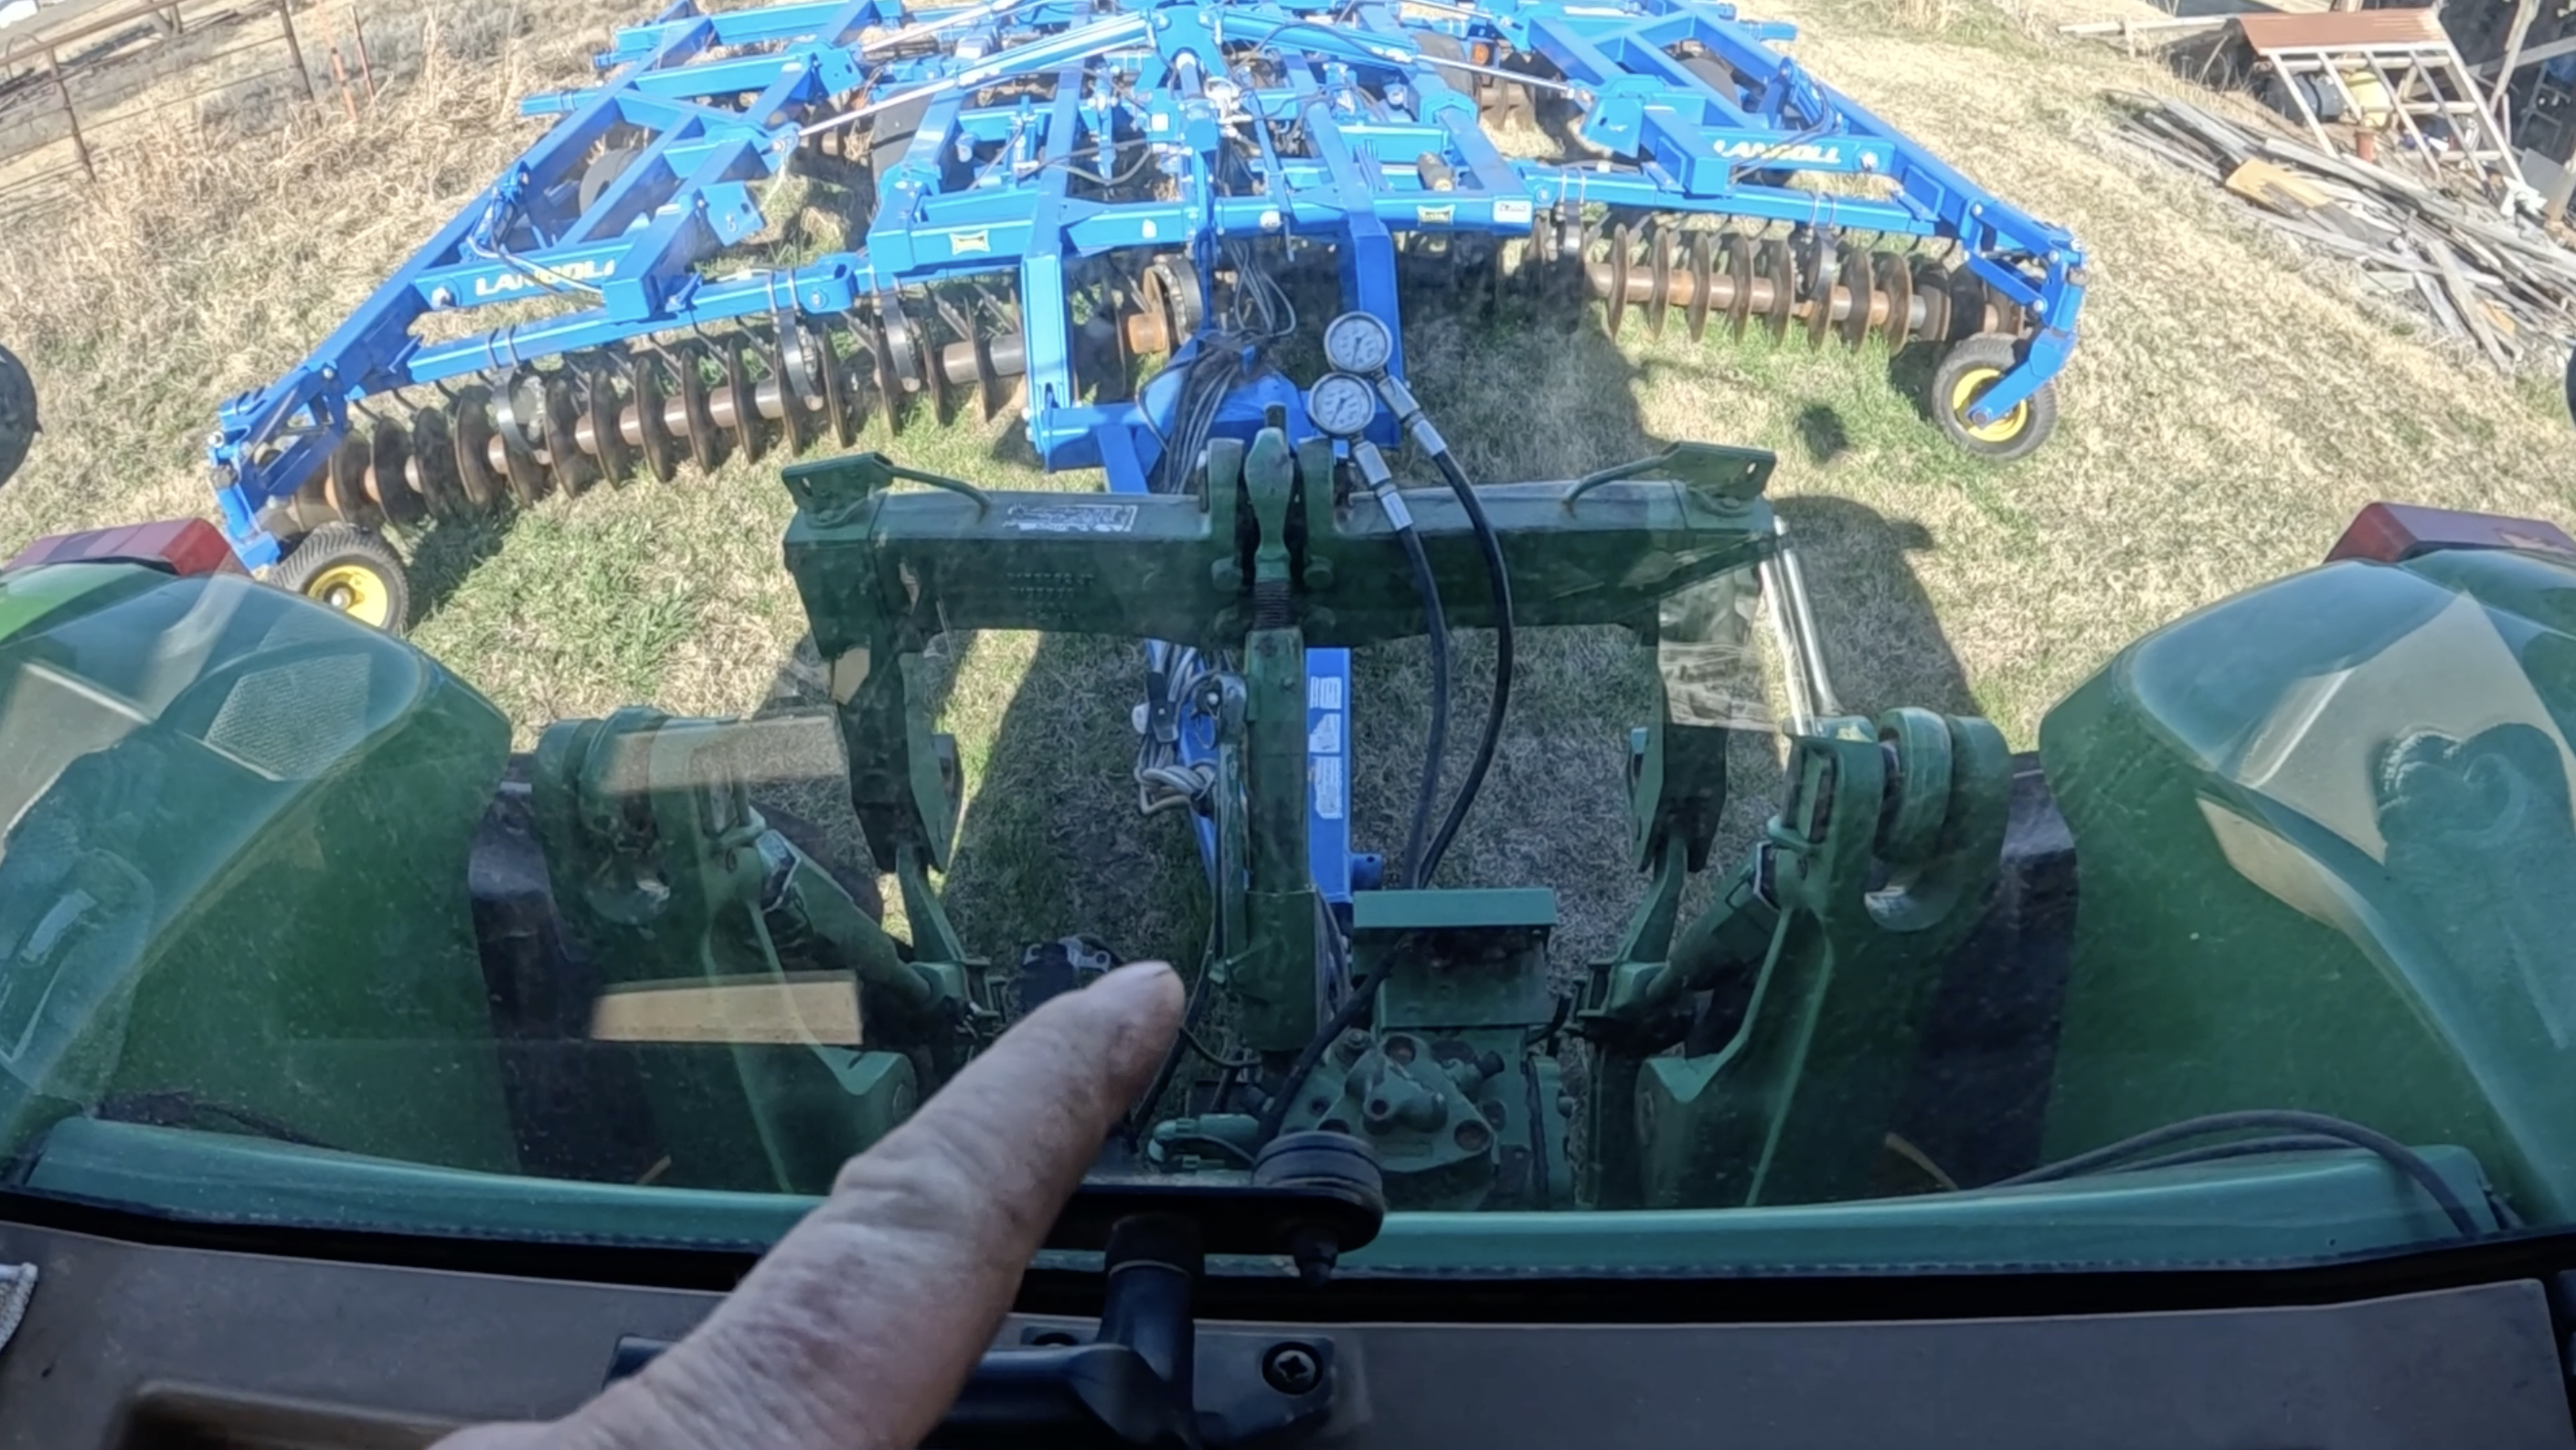
Hydraulic leaks, especially internal leaks in SCV couplers, can lead to implement settling, poor hydraulic performance, and excessive oil loss. Replacing couplers and internal seals is a proactive repair that keeps your tractor running efficiently and prevents costly downtime. We go over how to test for hydraulic leaks and fix hydraulic SCV couplers.
During the inspection, we connected a set of 5,000 psi pressure gauges to SCV couplers three and four. To test for leaks:
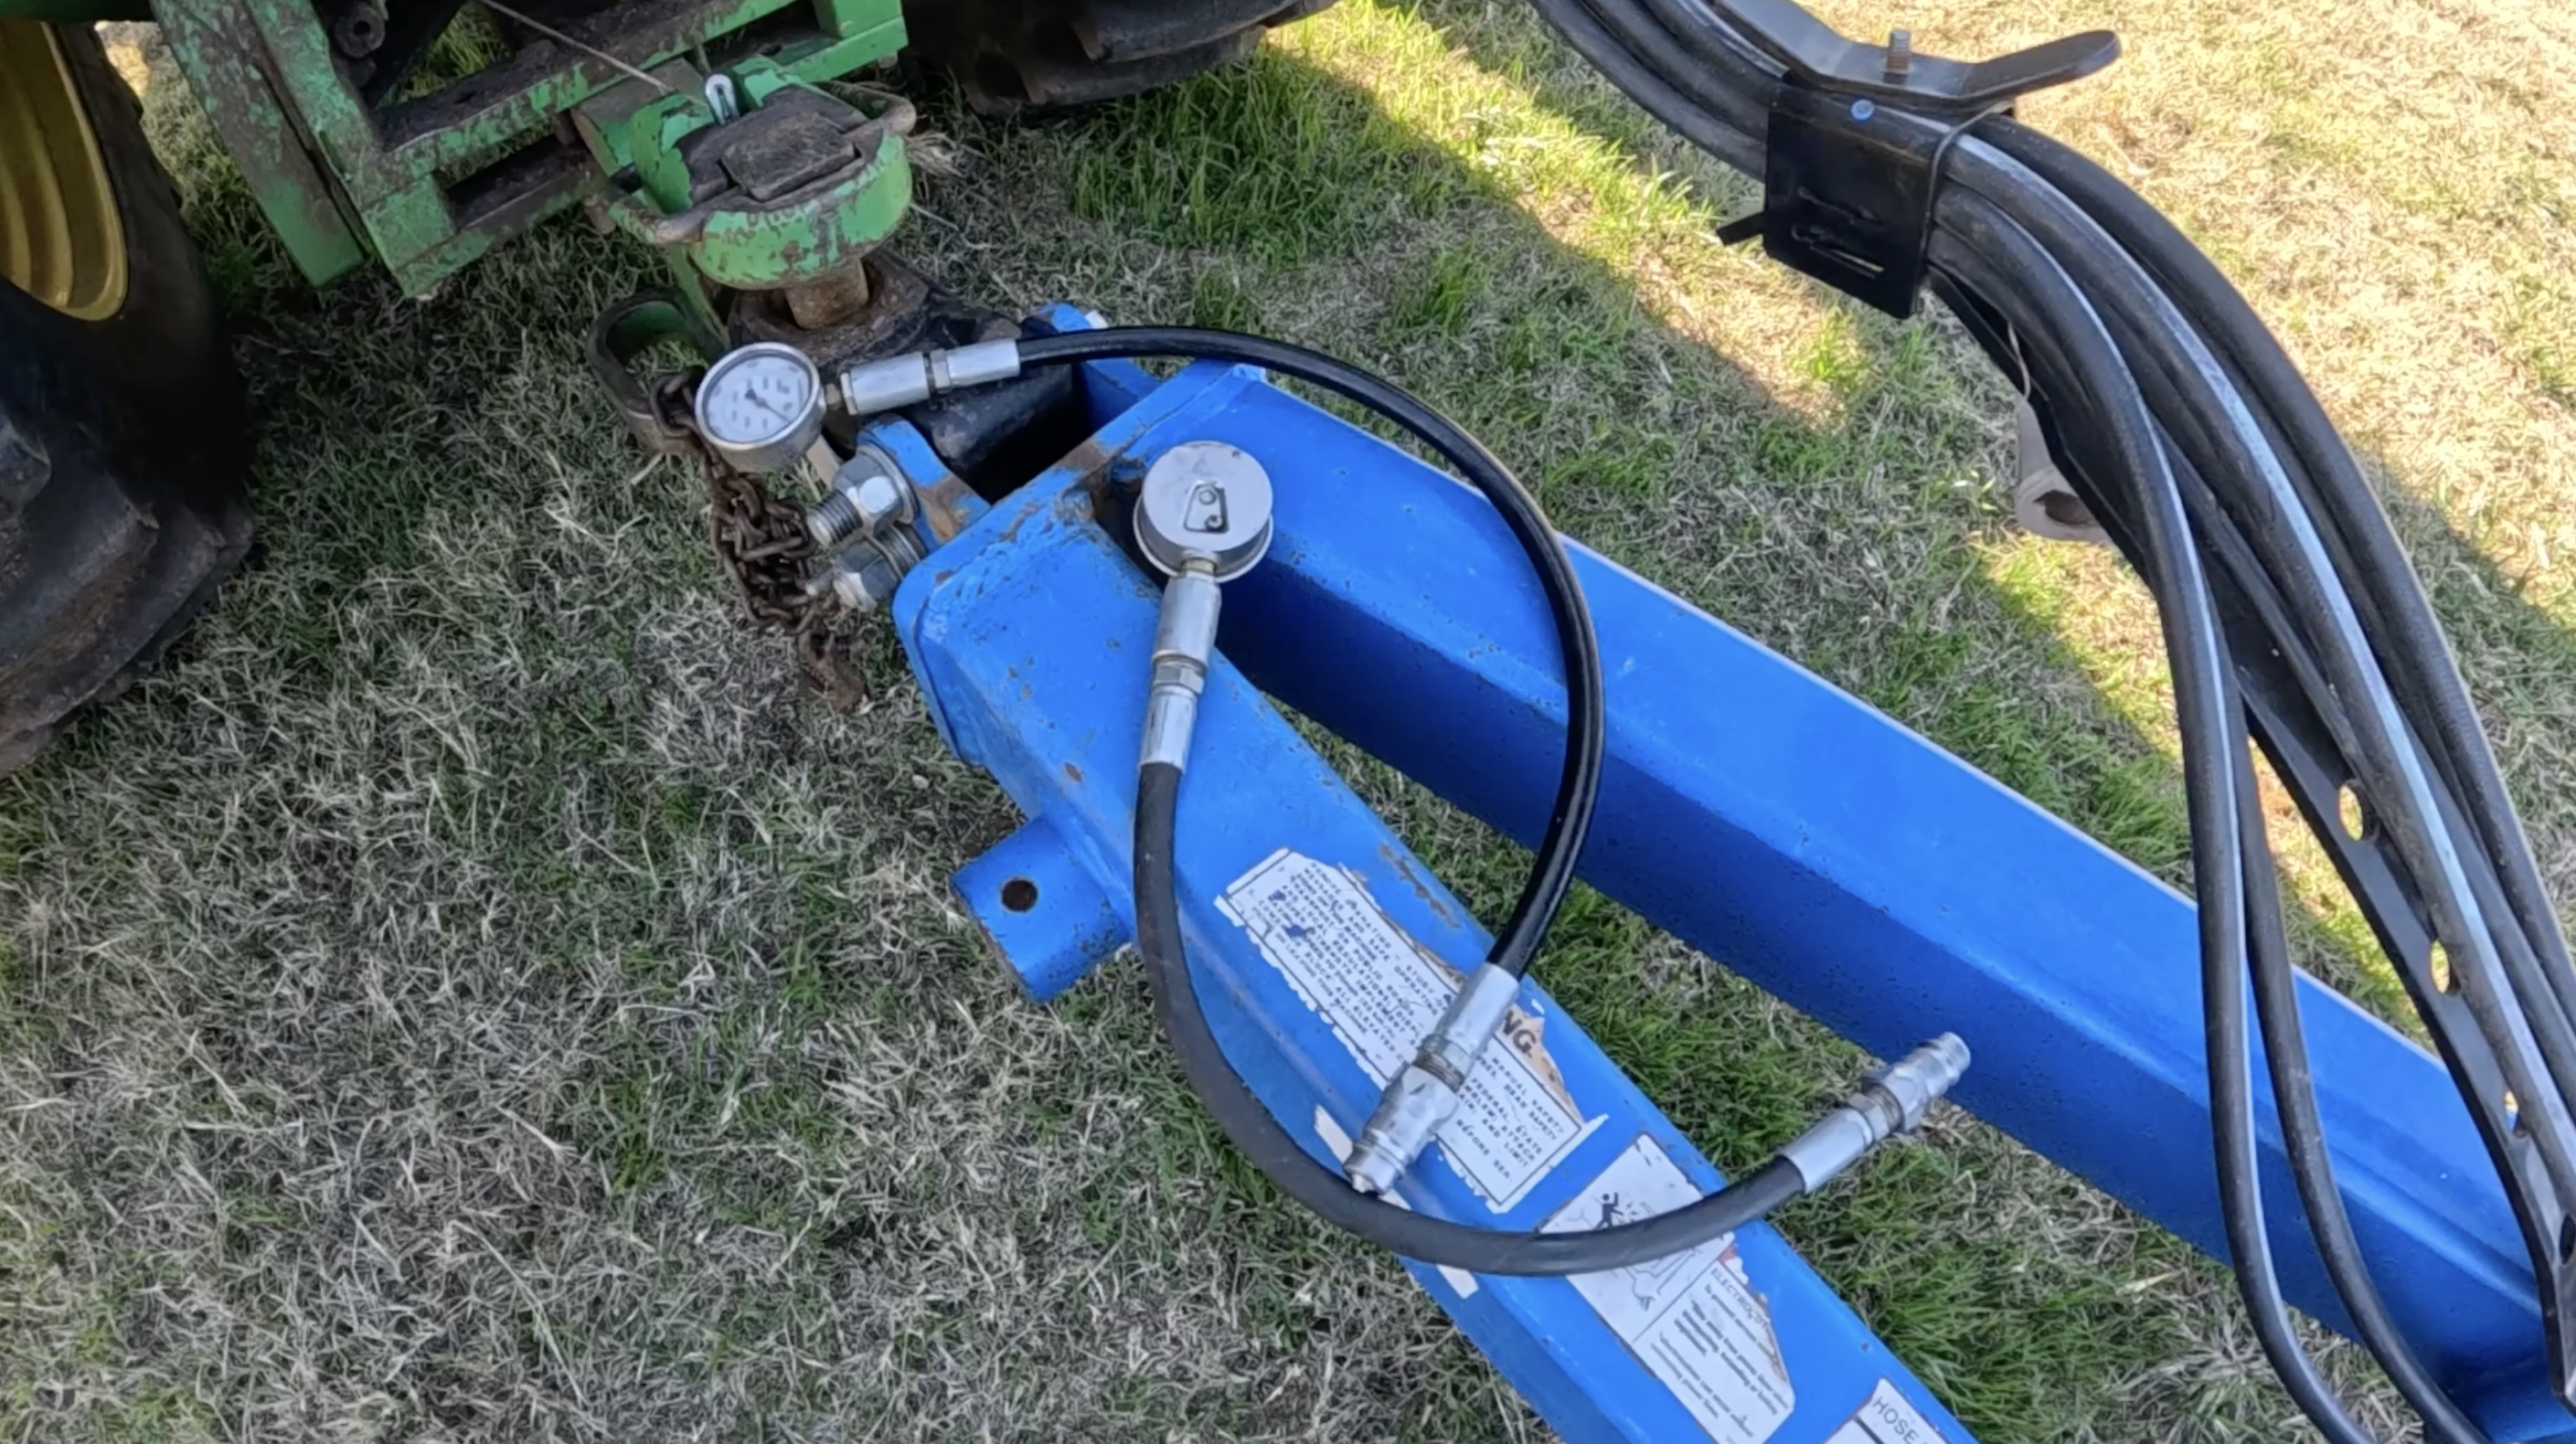
Plug hoses into the SCV ports.
Activate the SCV lever to build pressure.
Release the lever and watch the gauge.
On this tractor, both couplers showed rapid pressure drop after releasing the lever, confirming internal leaks.
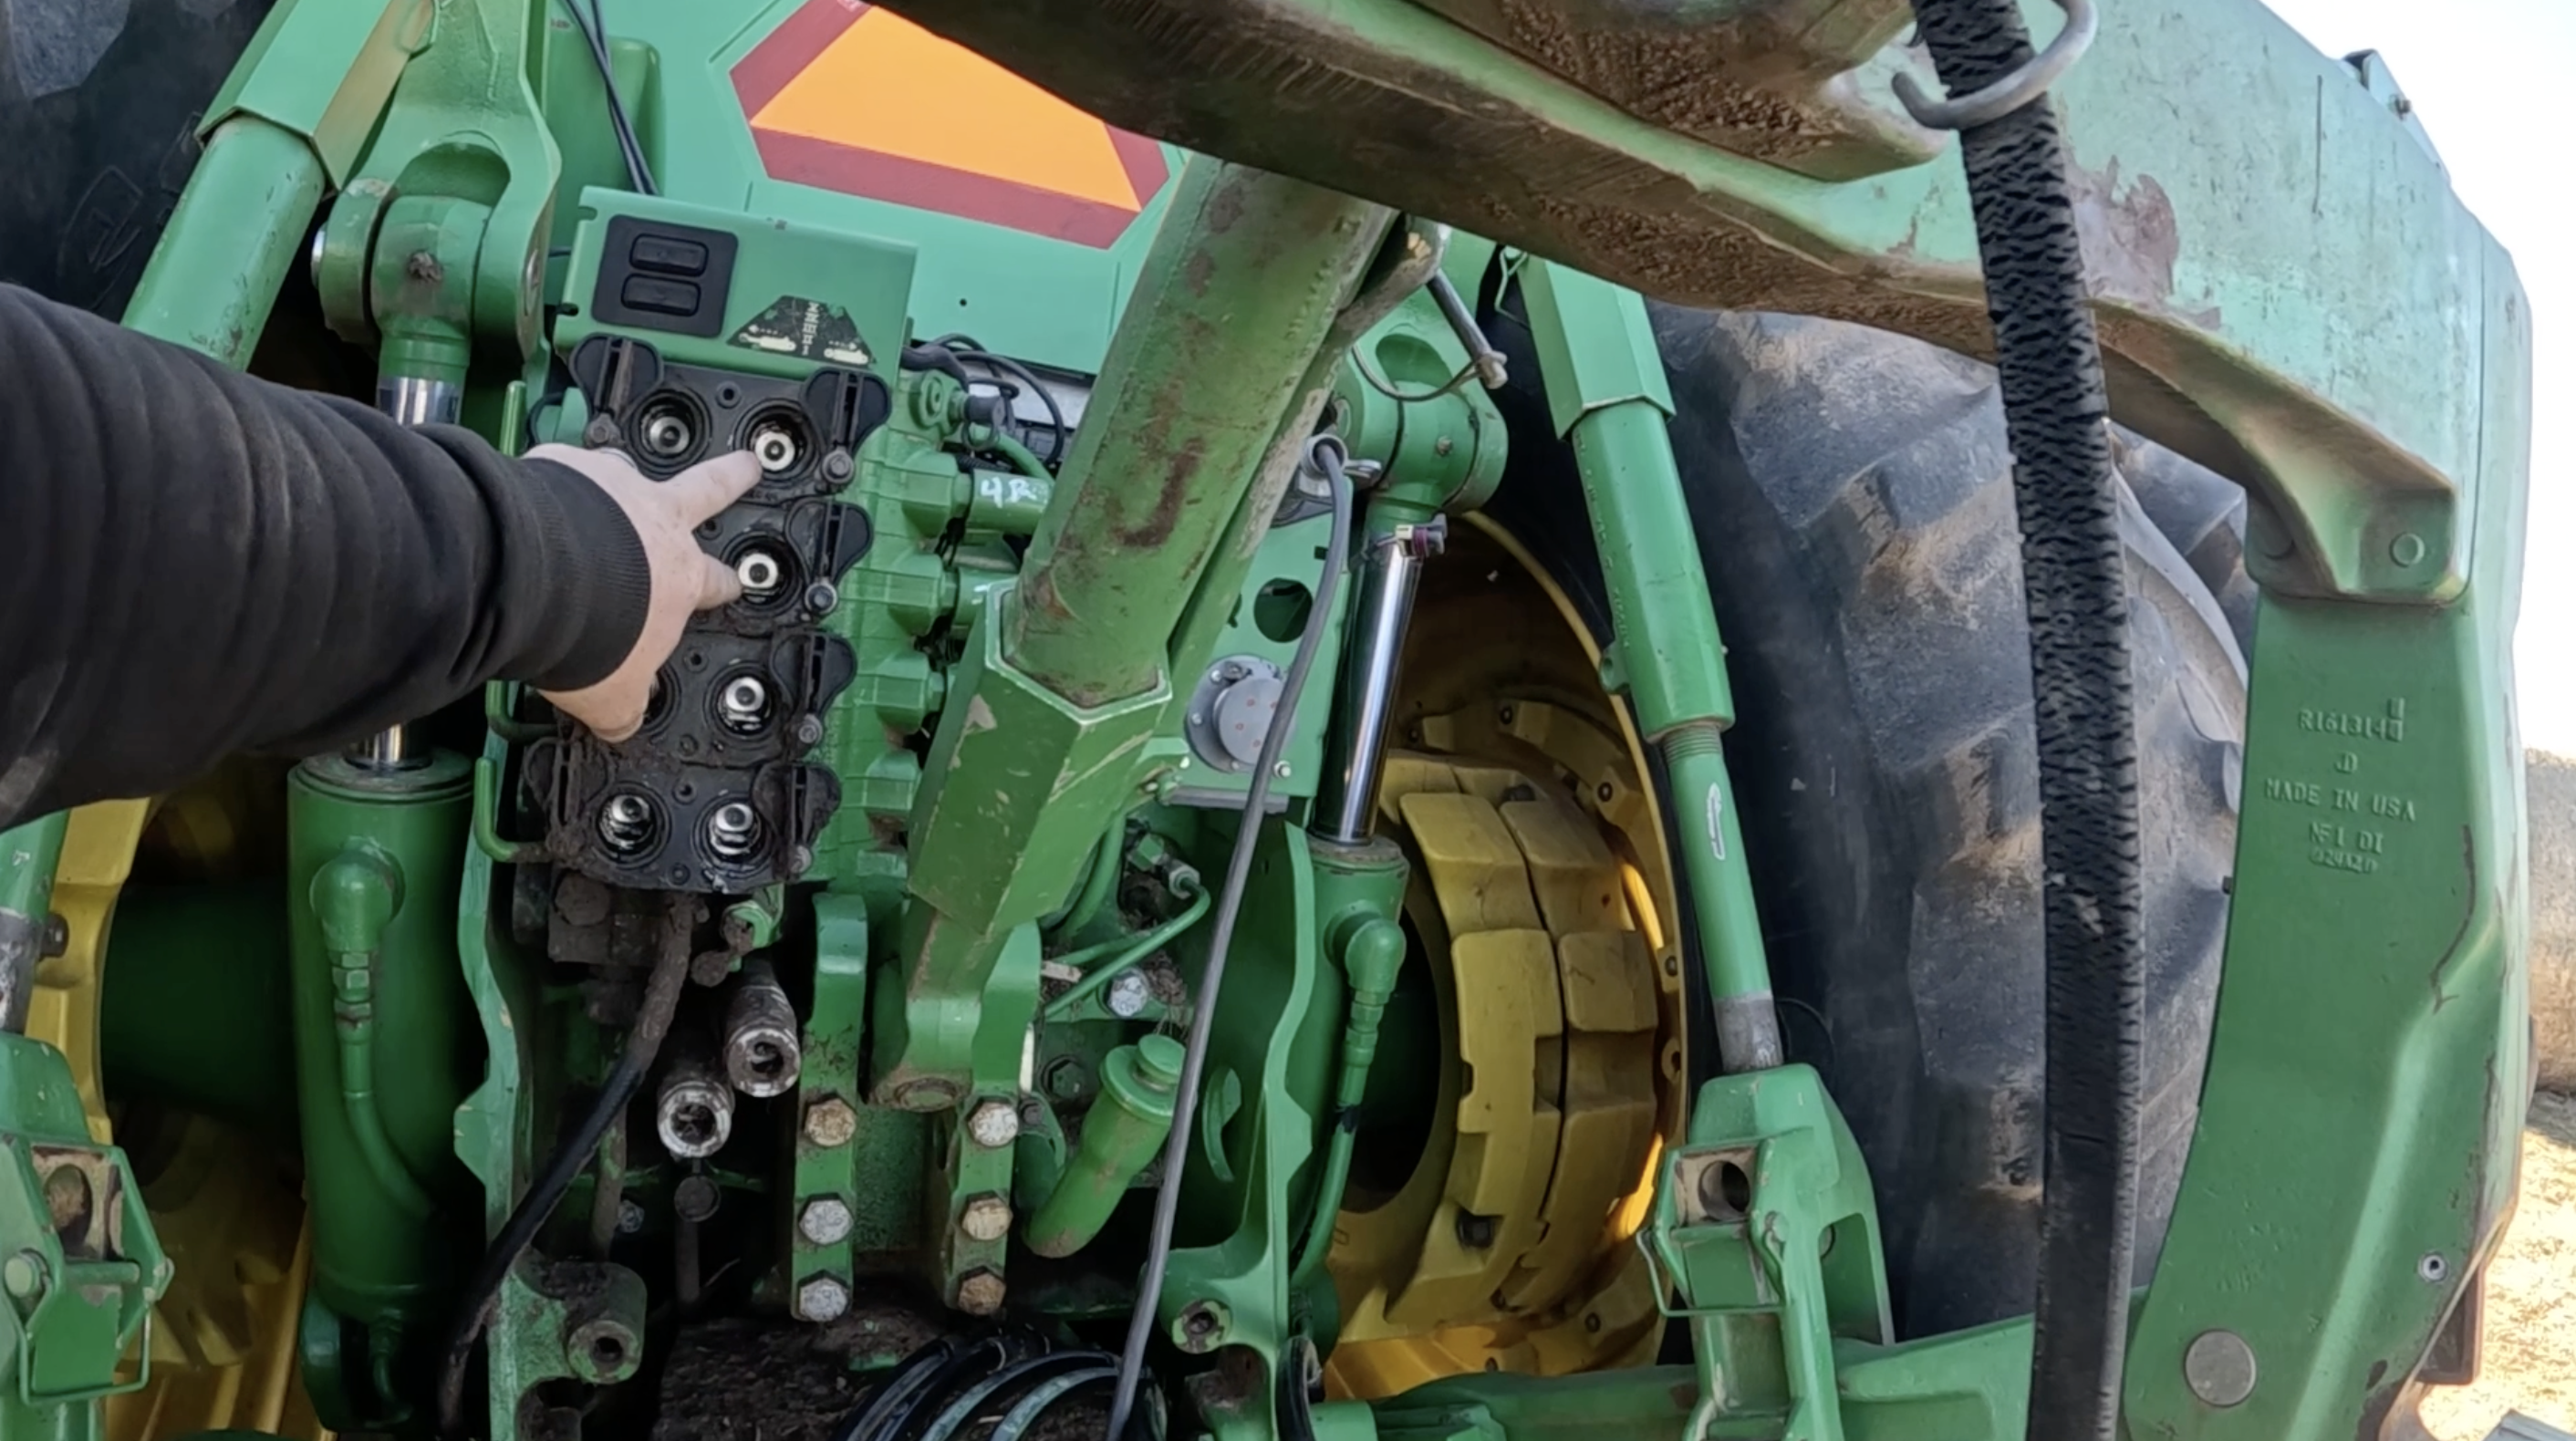
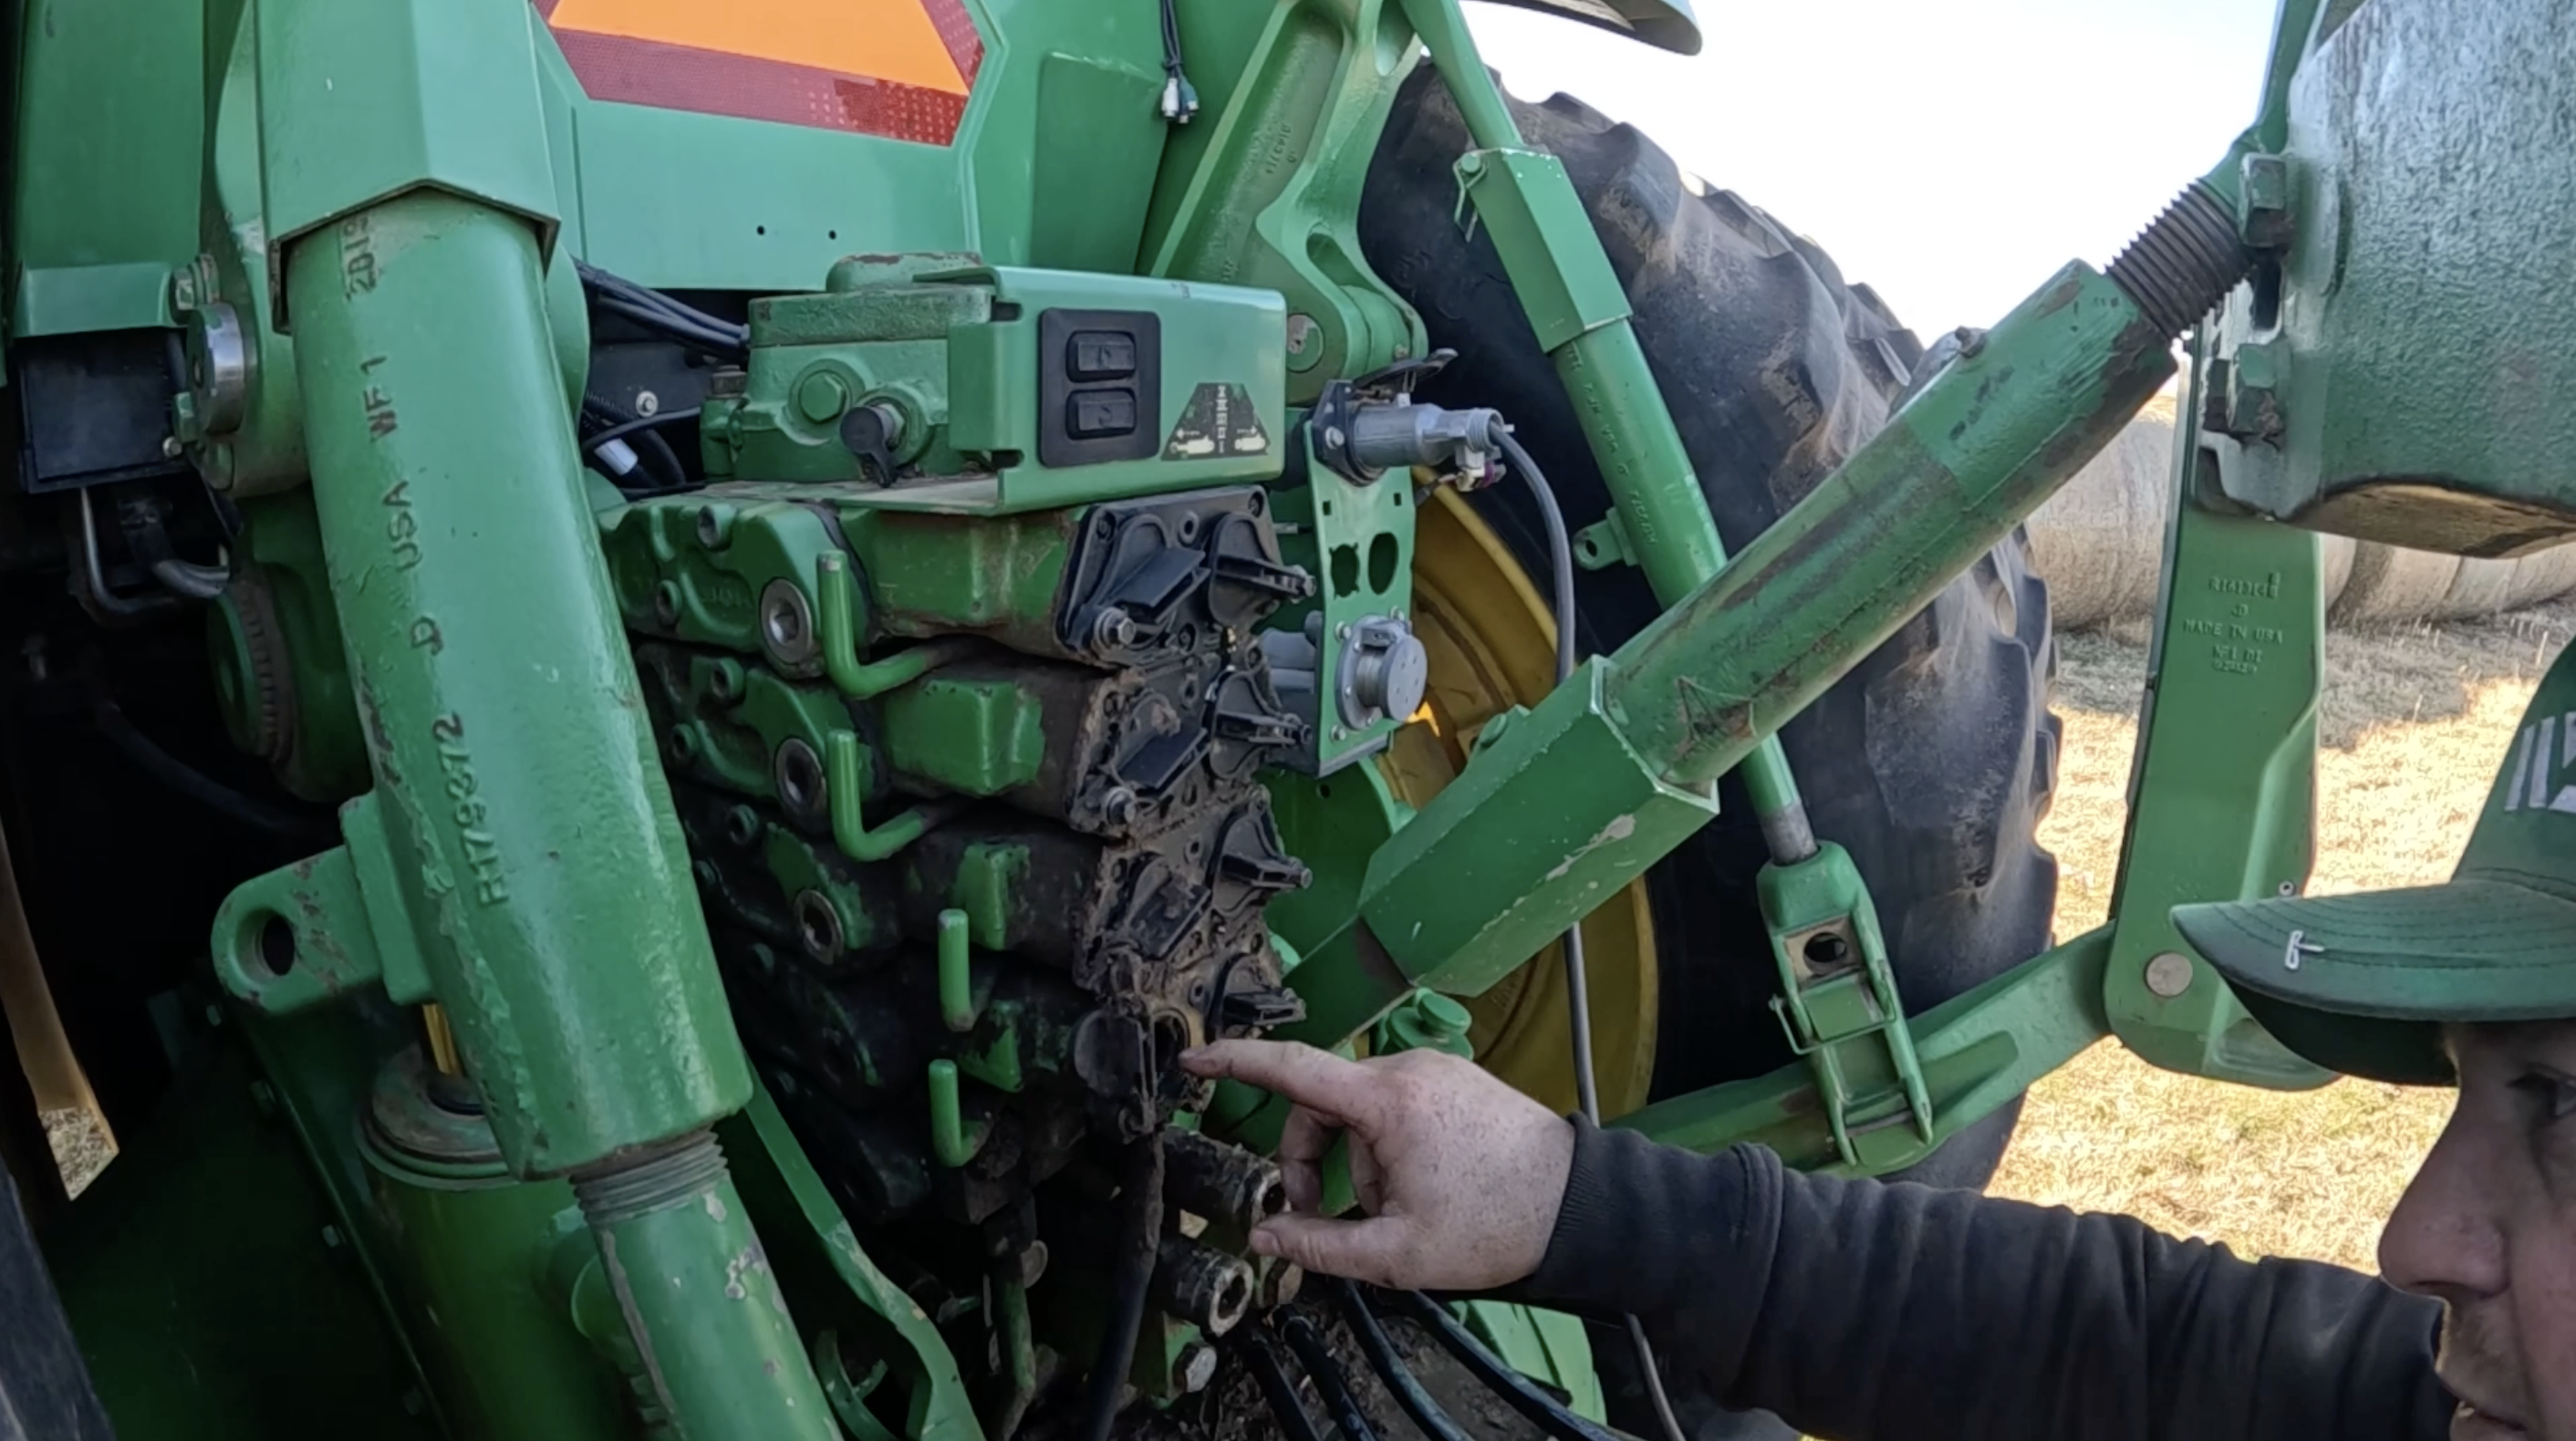
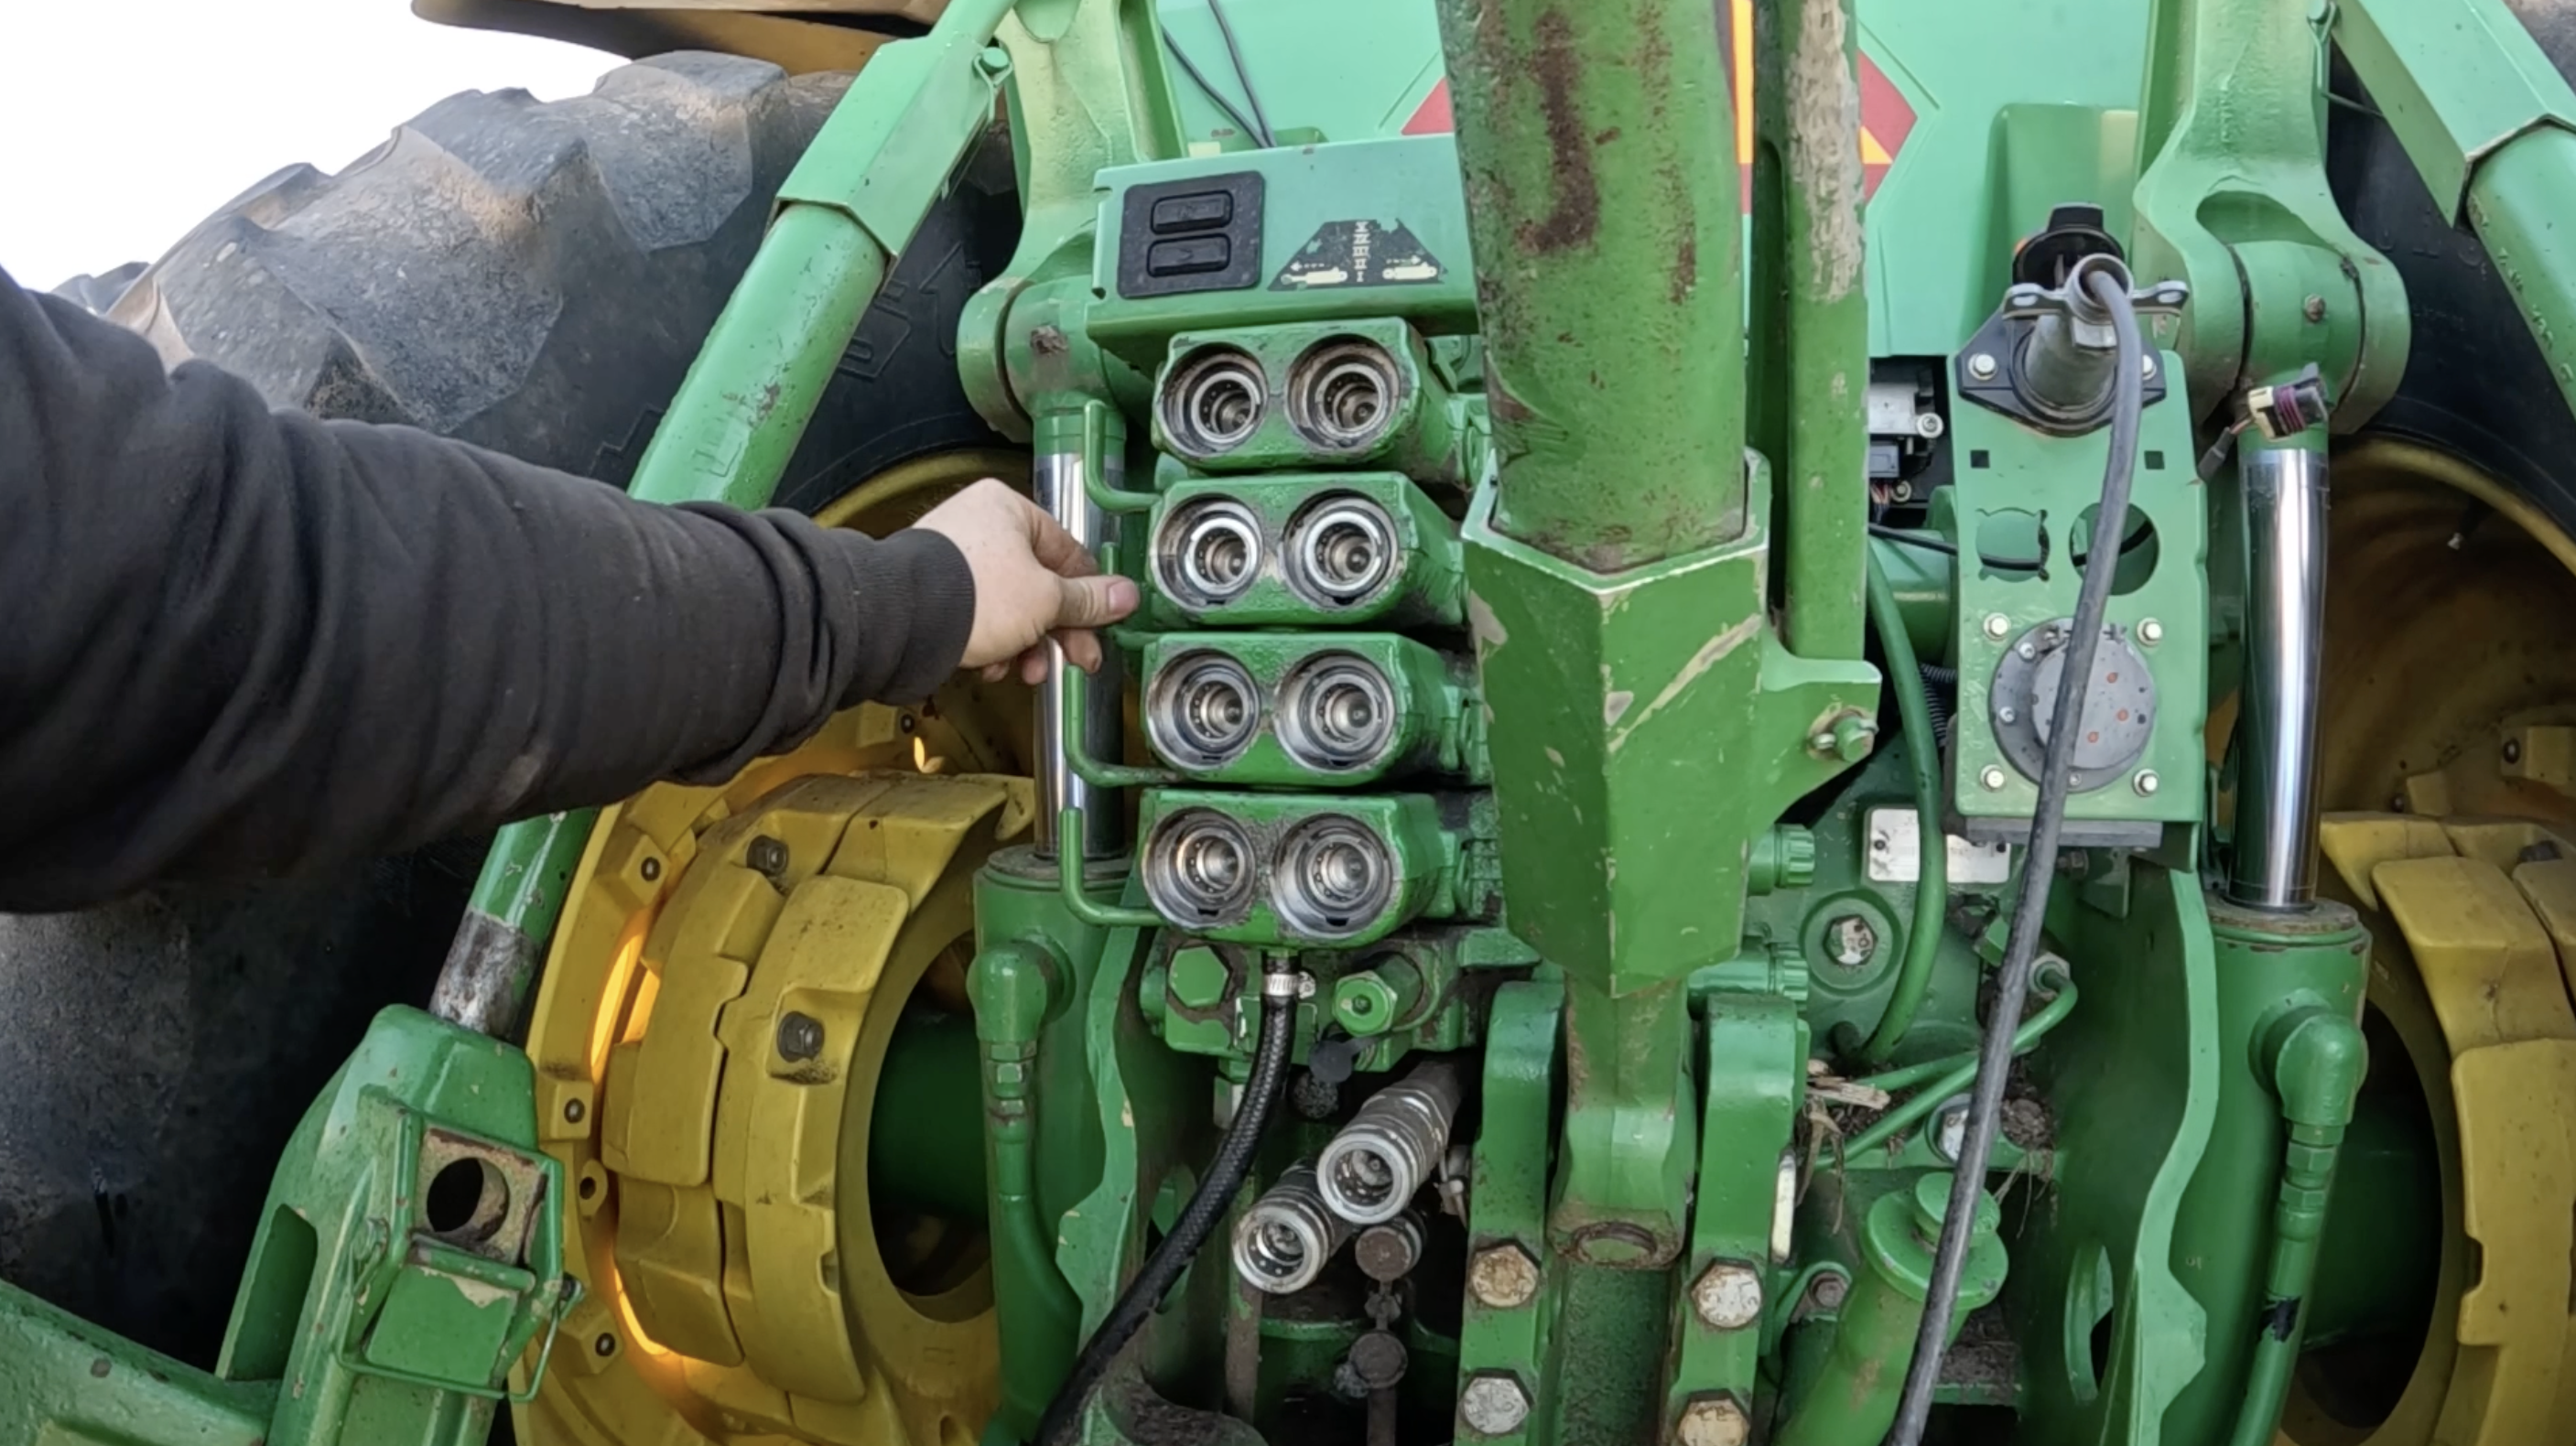
Before removing components, it’s important to keep your workspace clean:
Use an air wand to blow away dirt around the SCV stack.
A clogged drain passage can trap oil and dirt, causing messy leaks when hoses are disconnected.
Remove the plastic covers. On some models, these covers pop off without removing bolts.
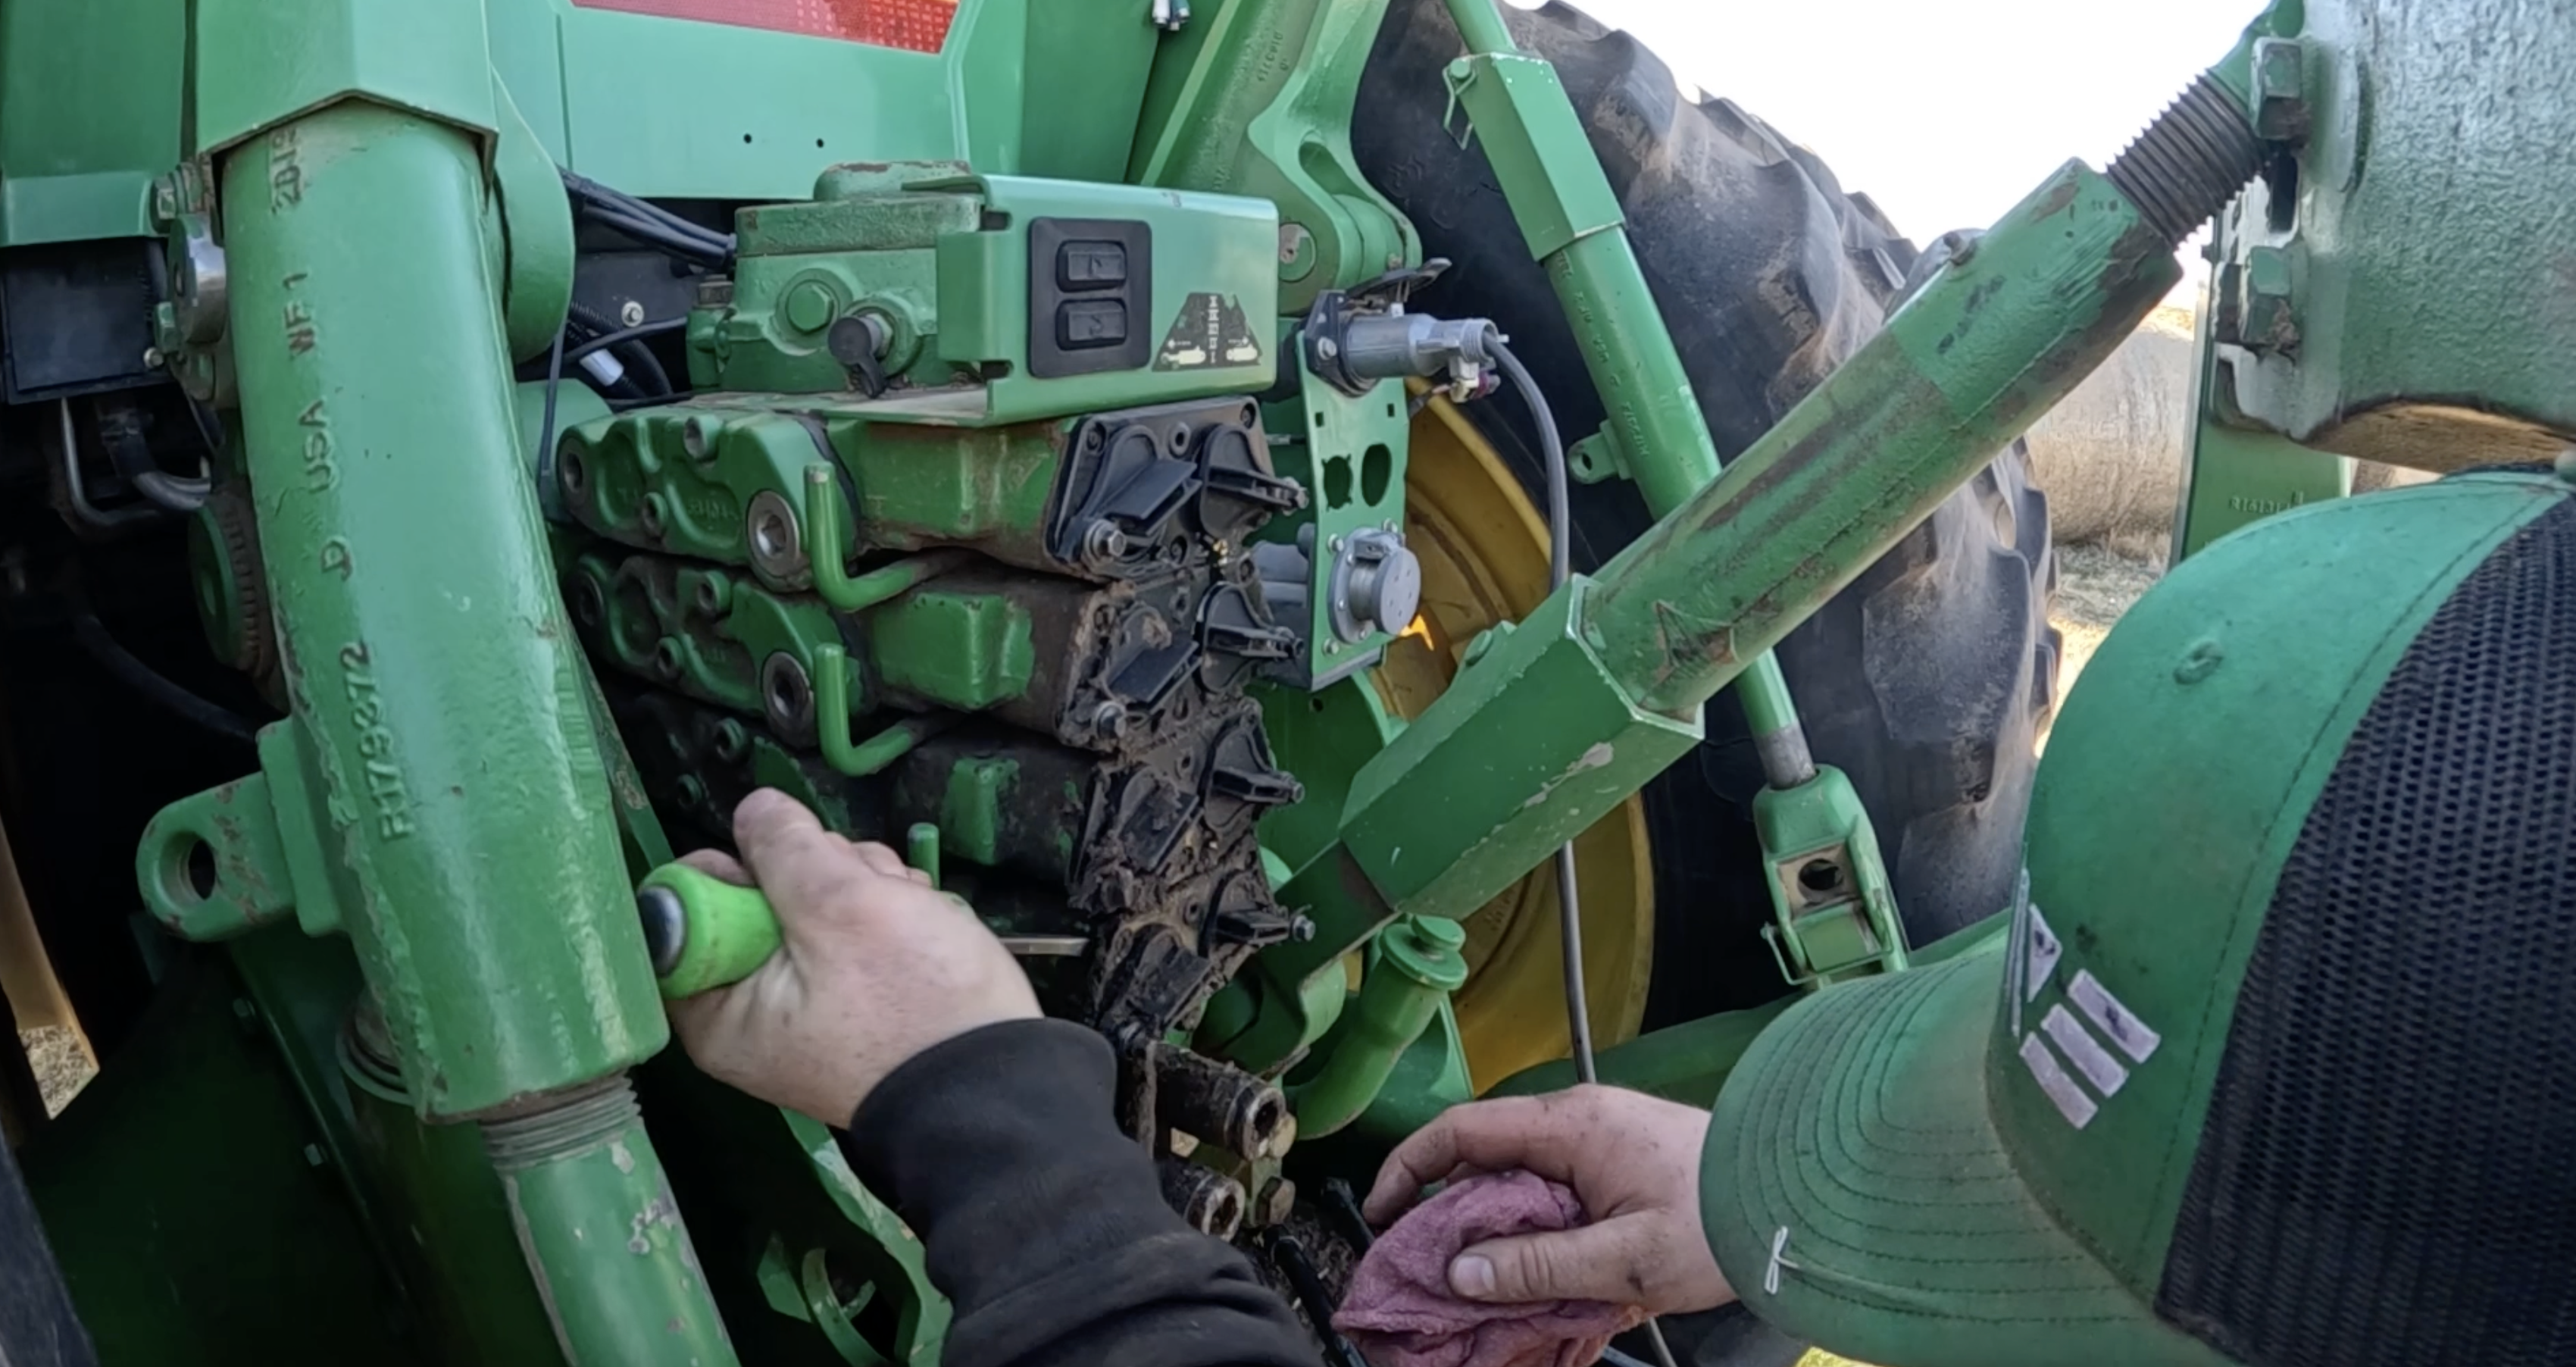
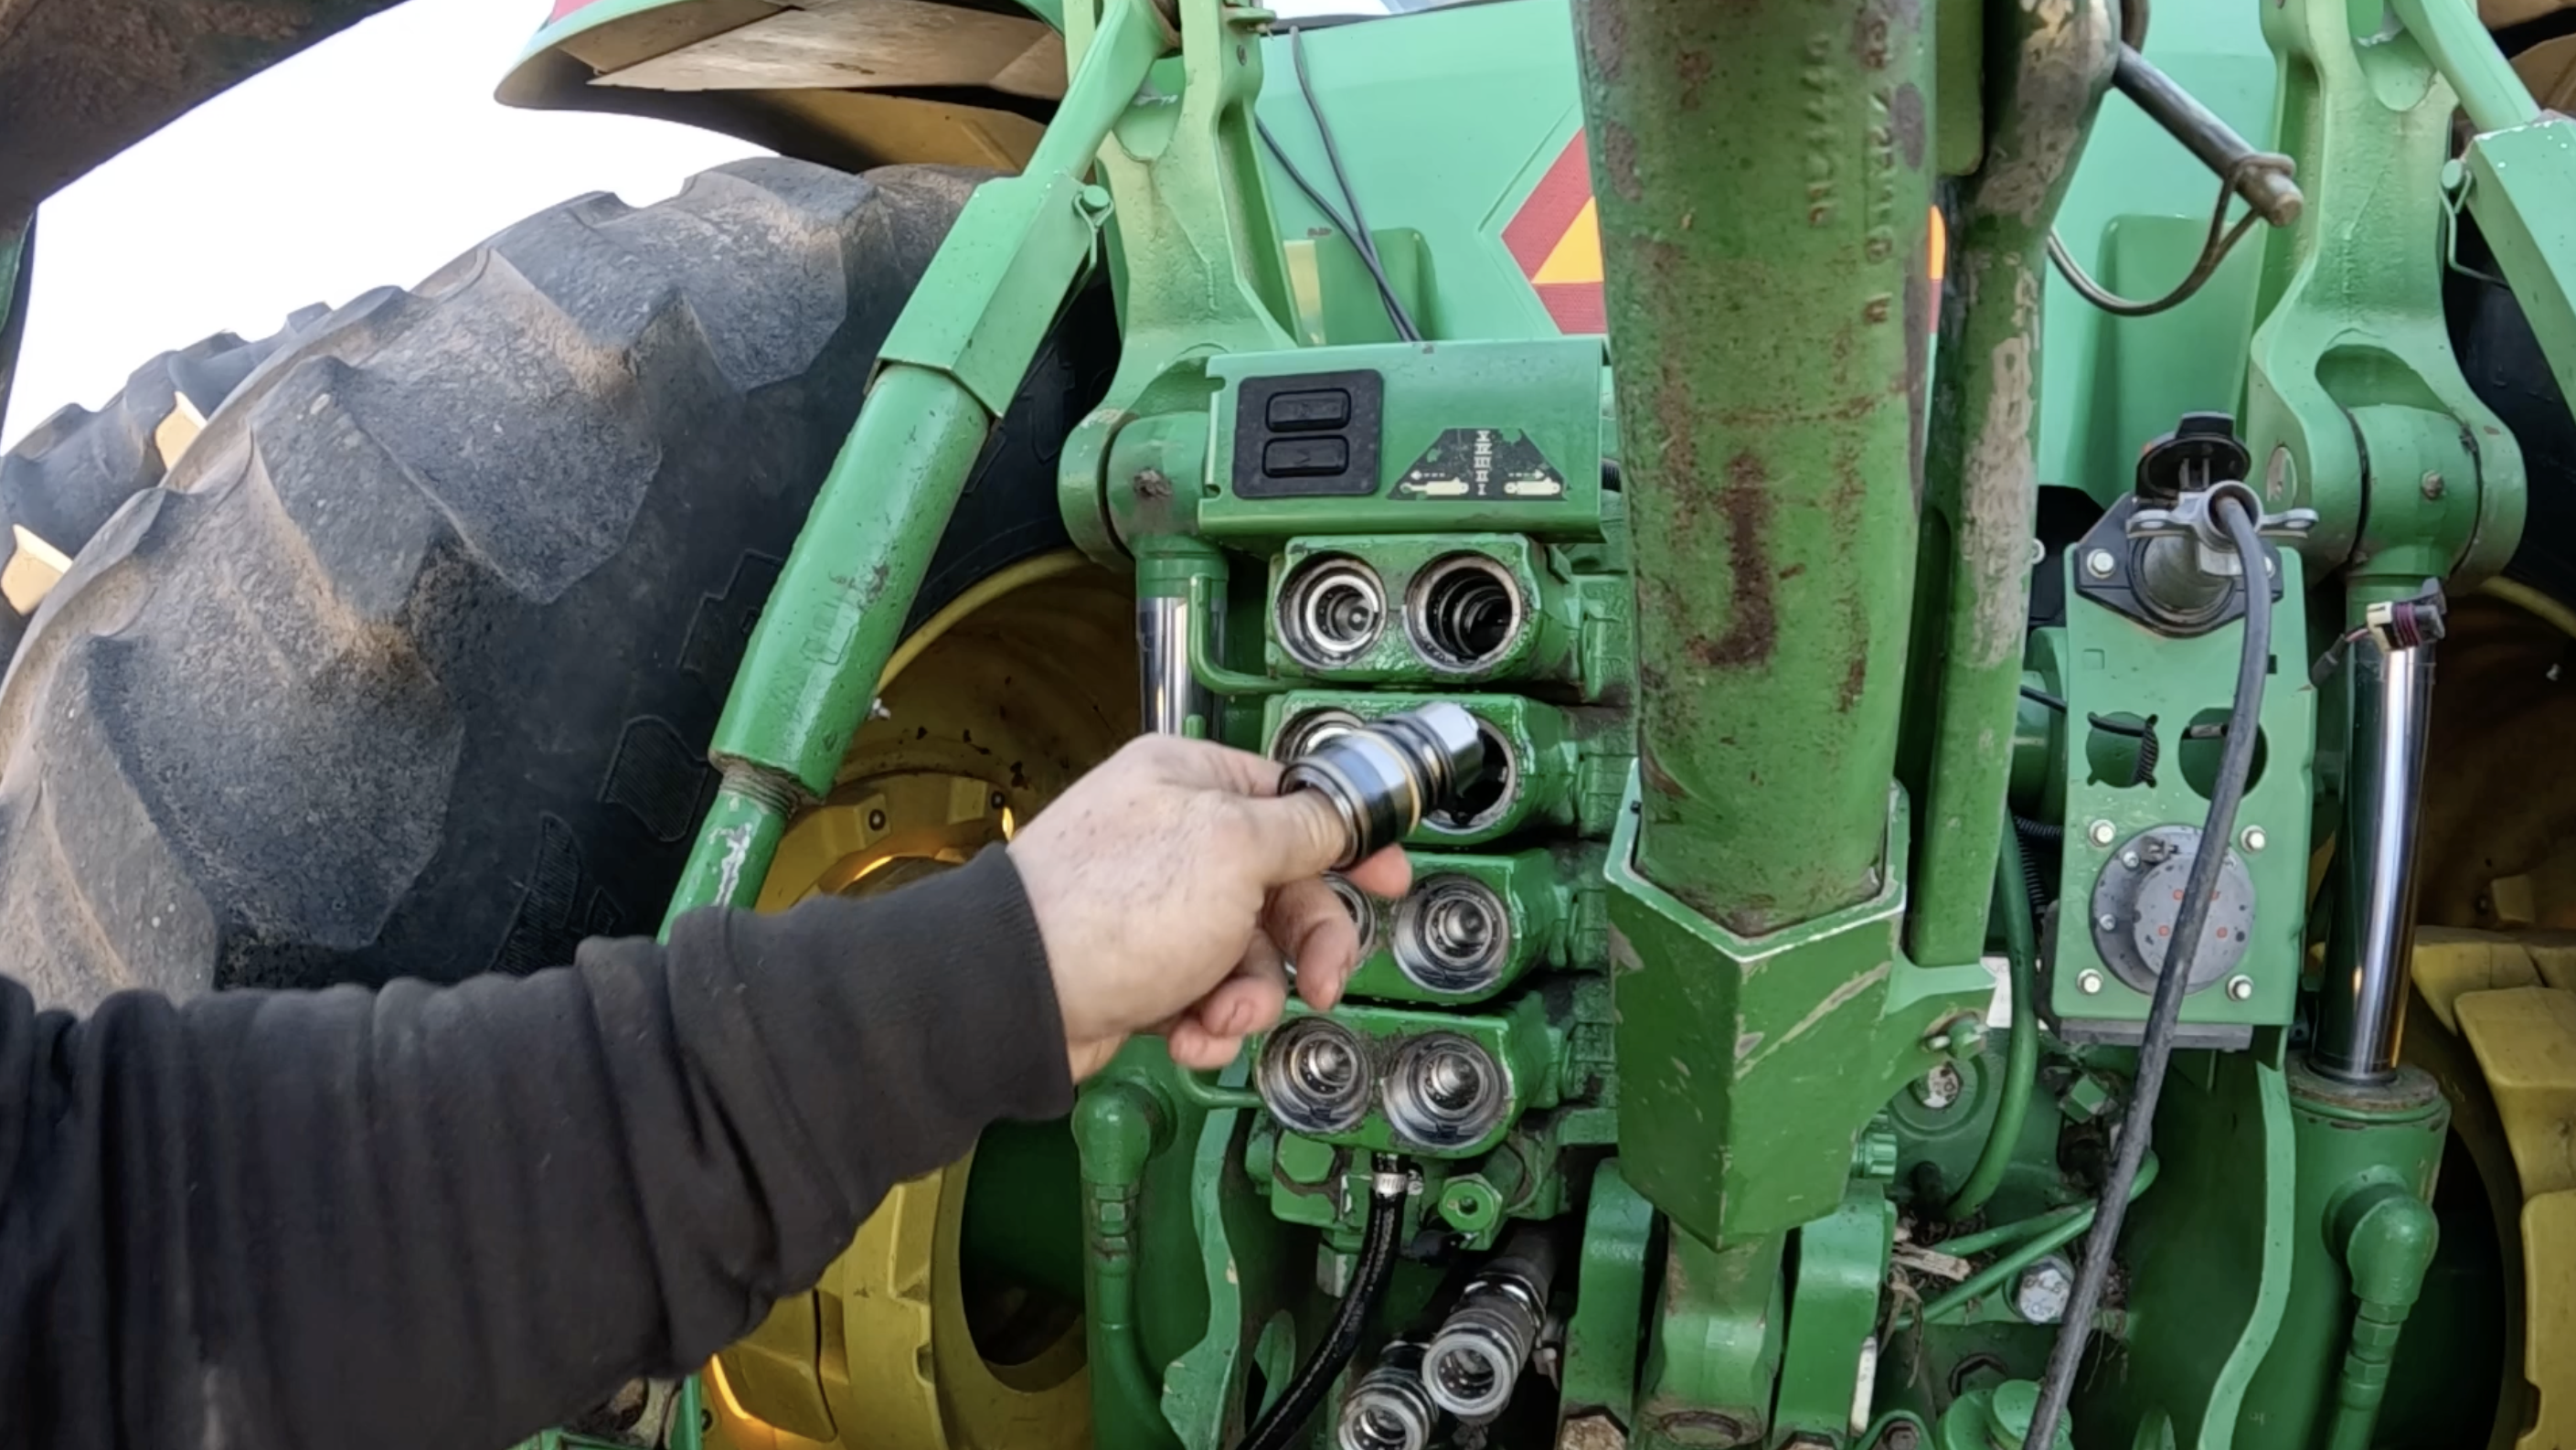
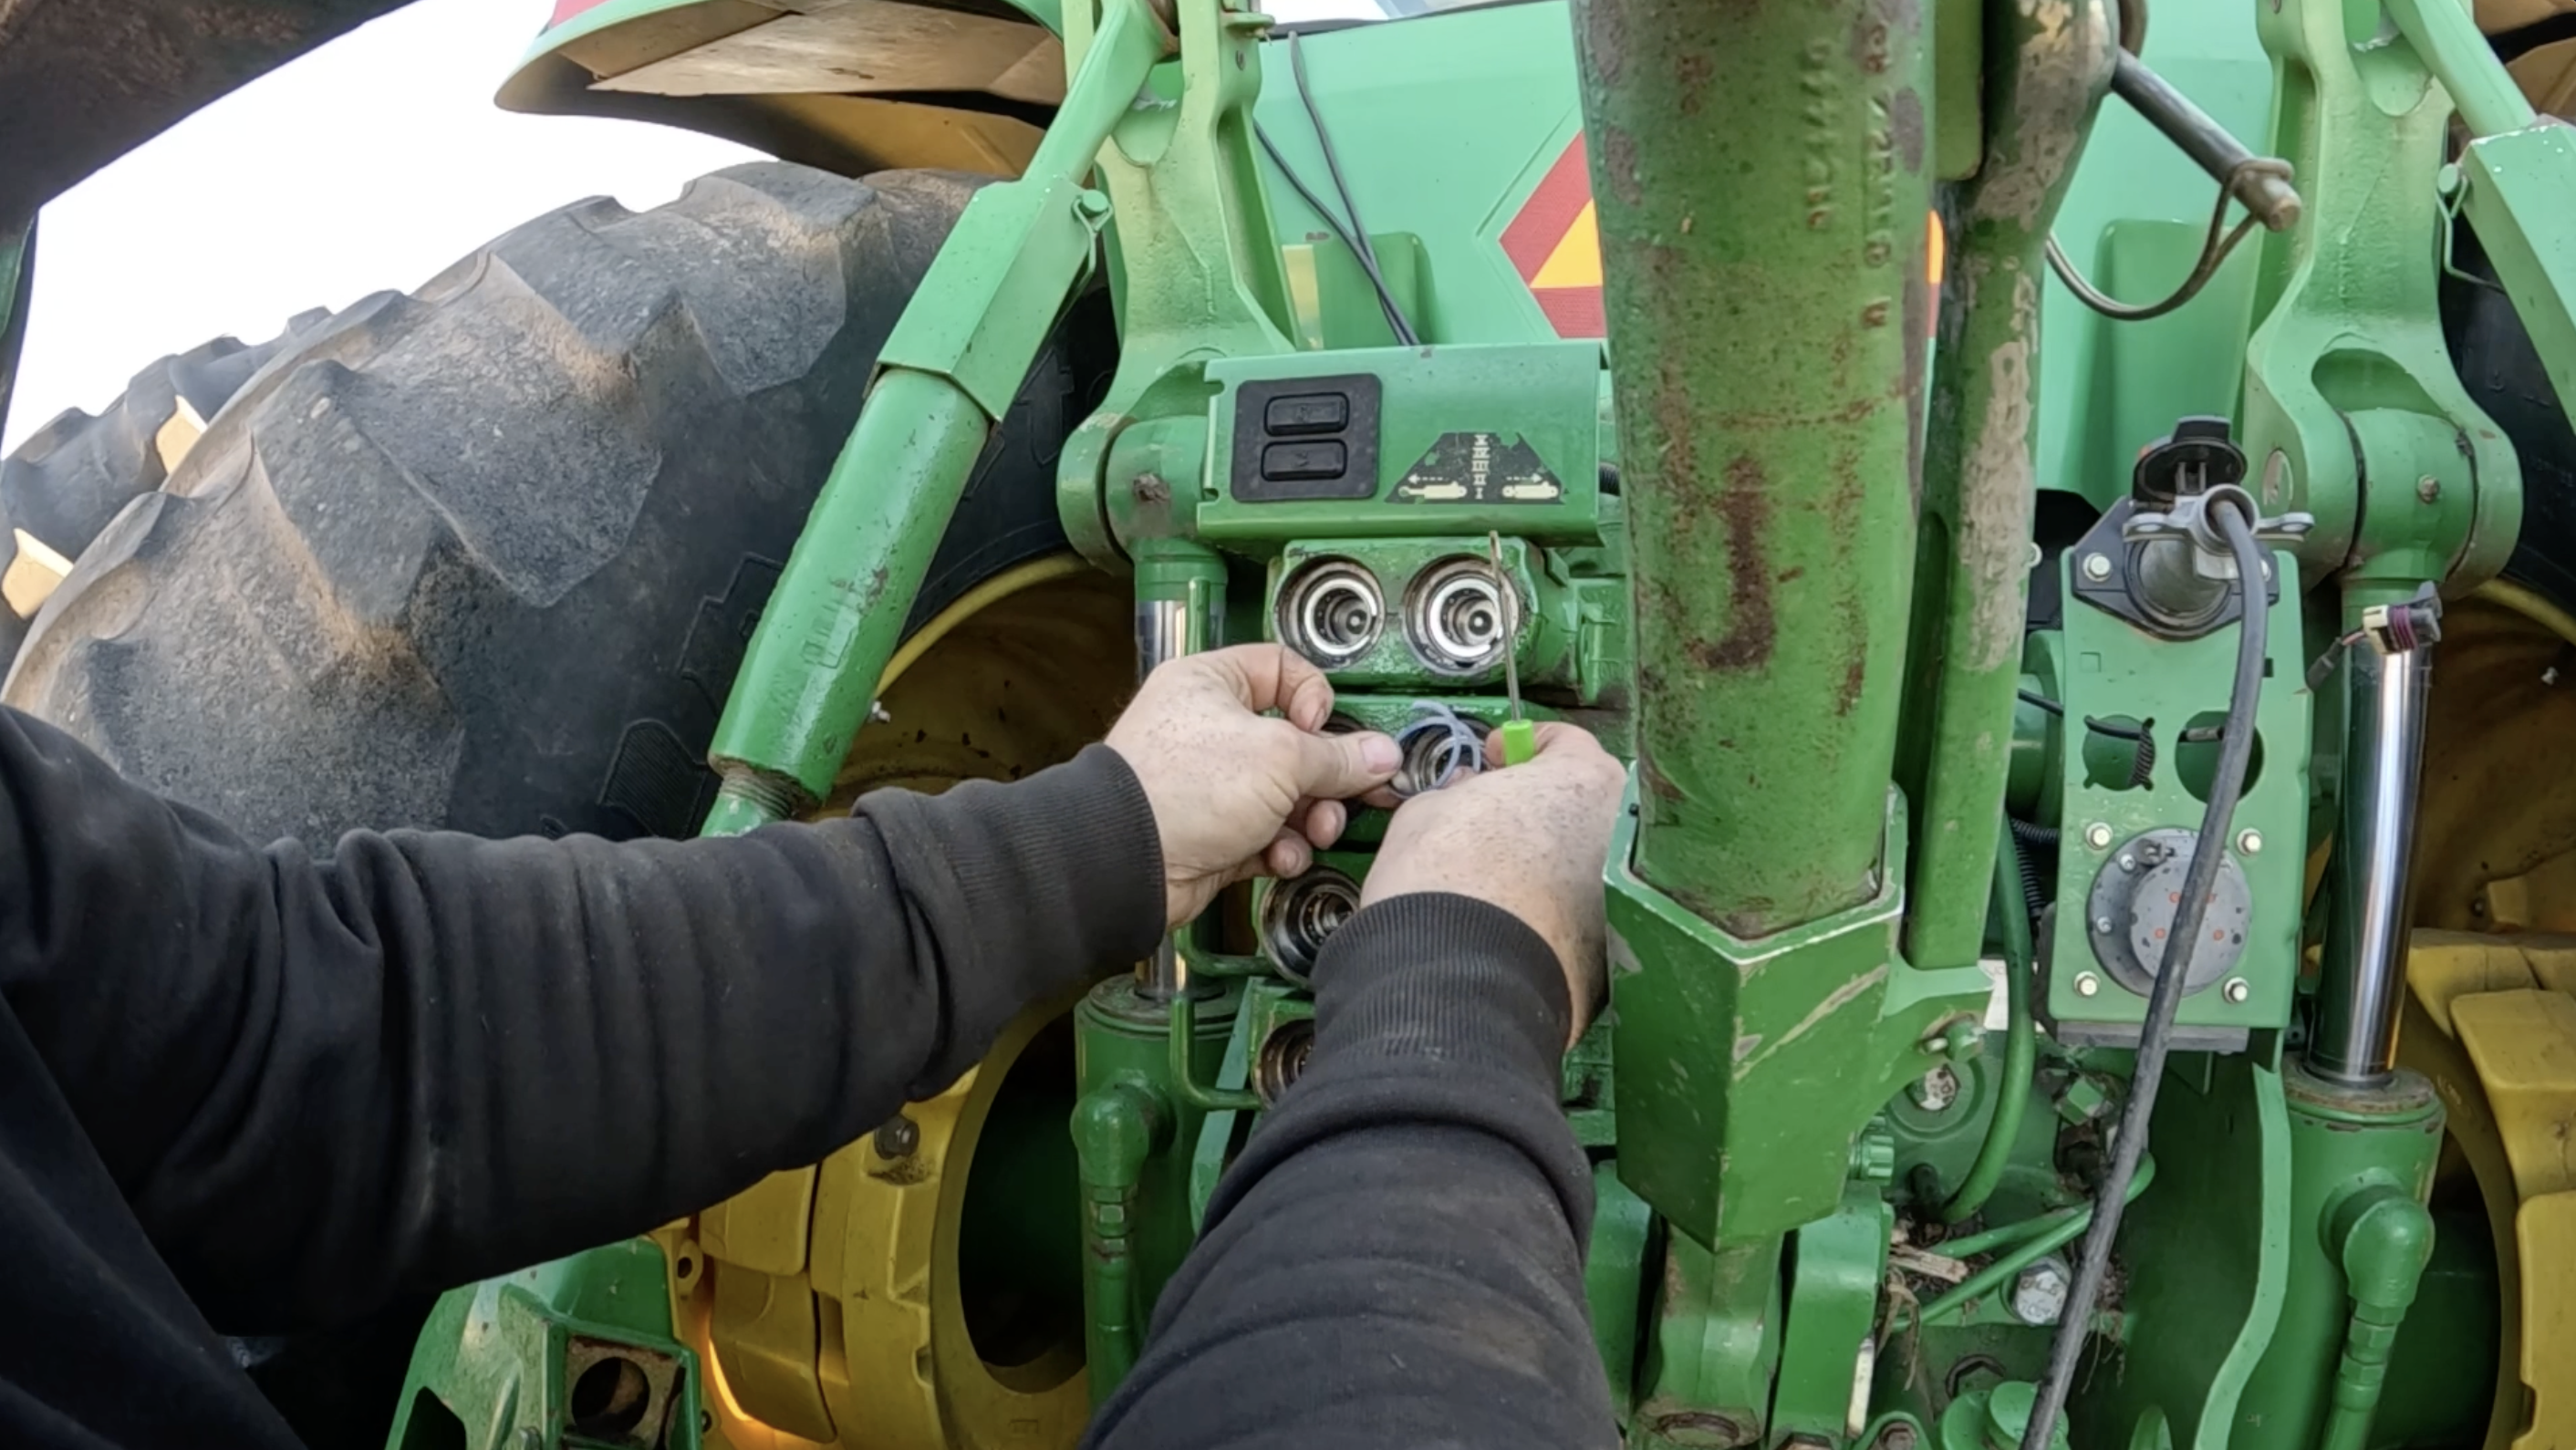
Here’s how to remove the leaking couplers:
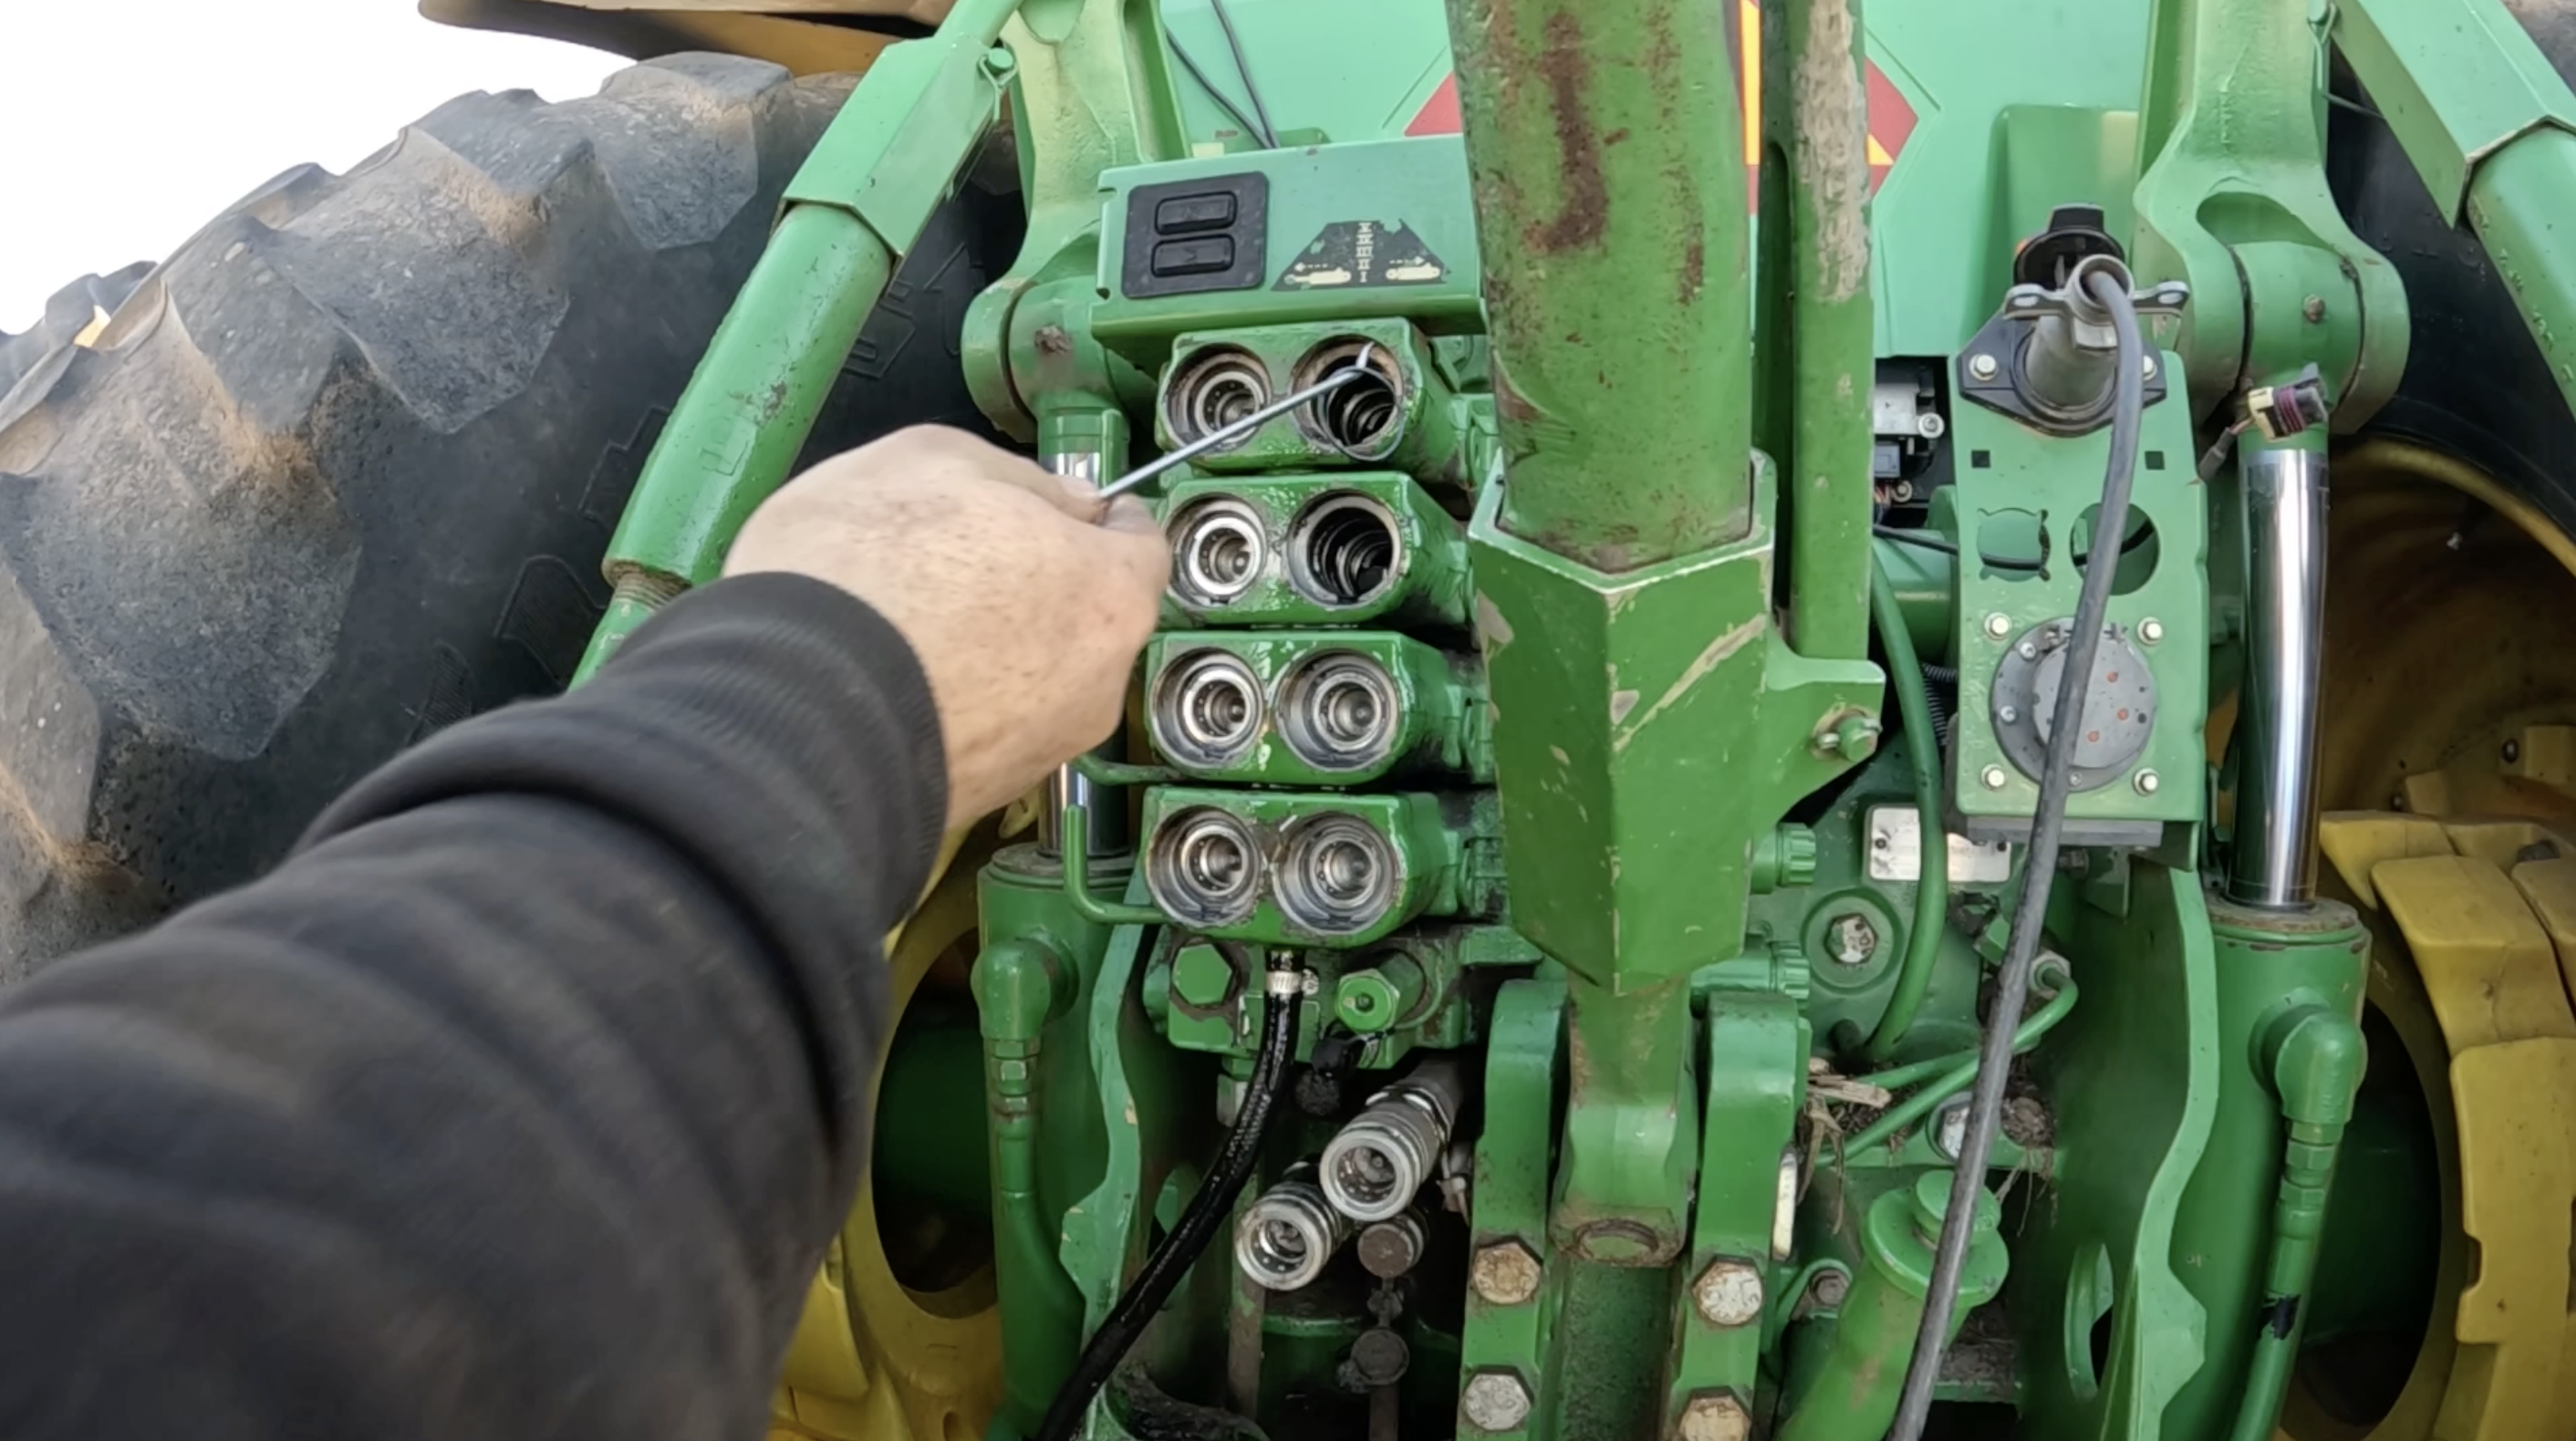
Locate the small snap ring that holds the coupler in place.
Use a pocket screwdriver to carefully remove the snap ring.
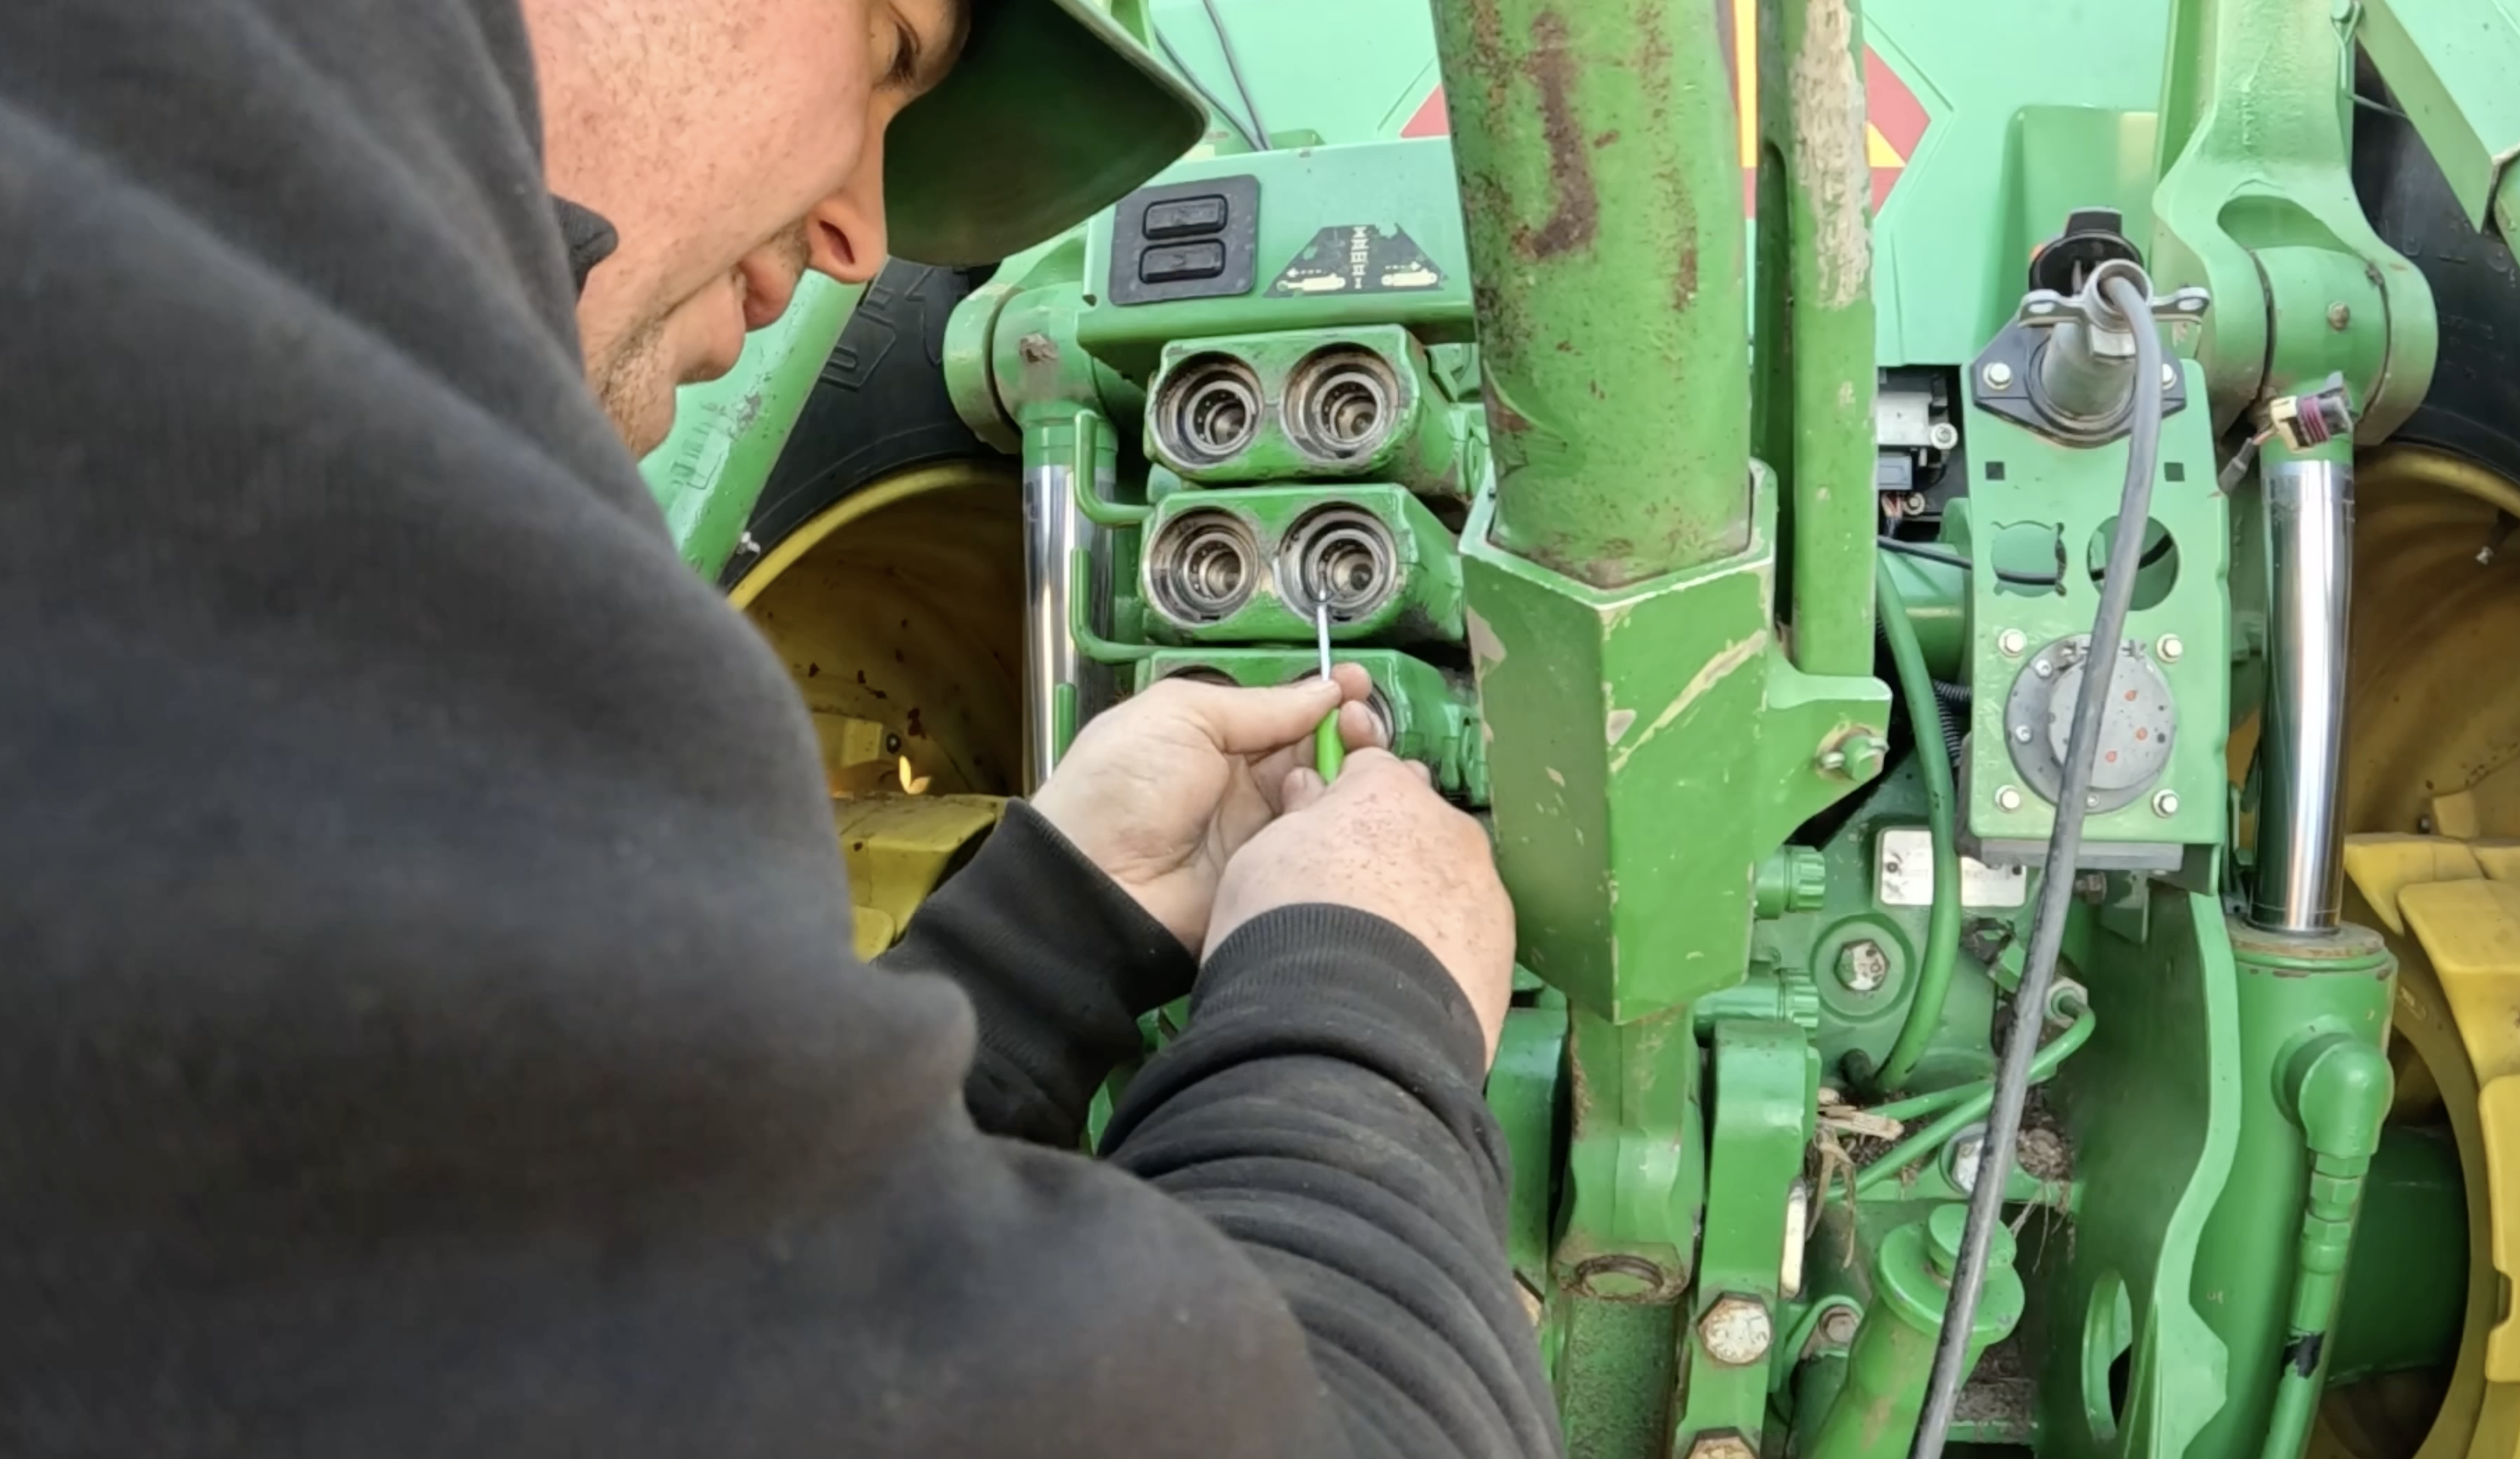
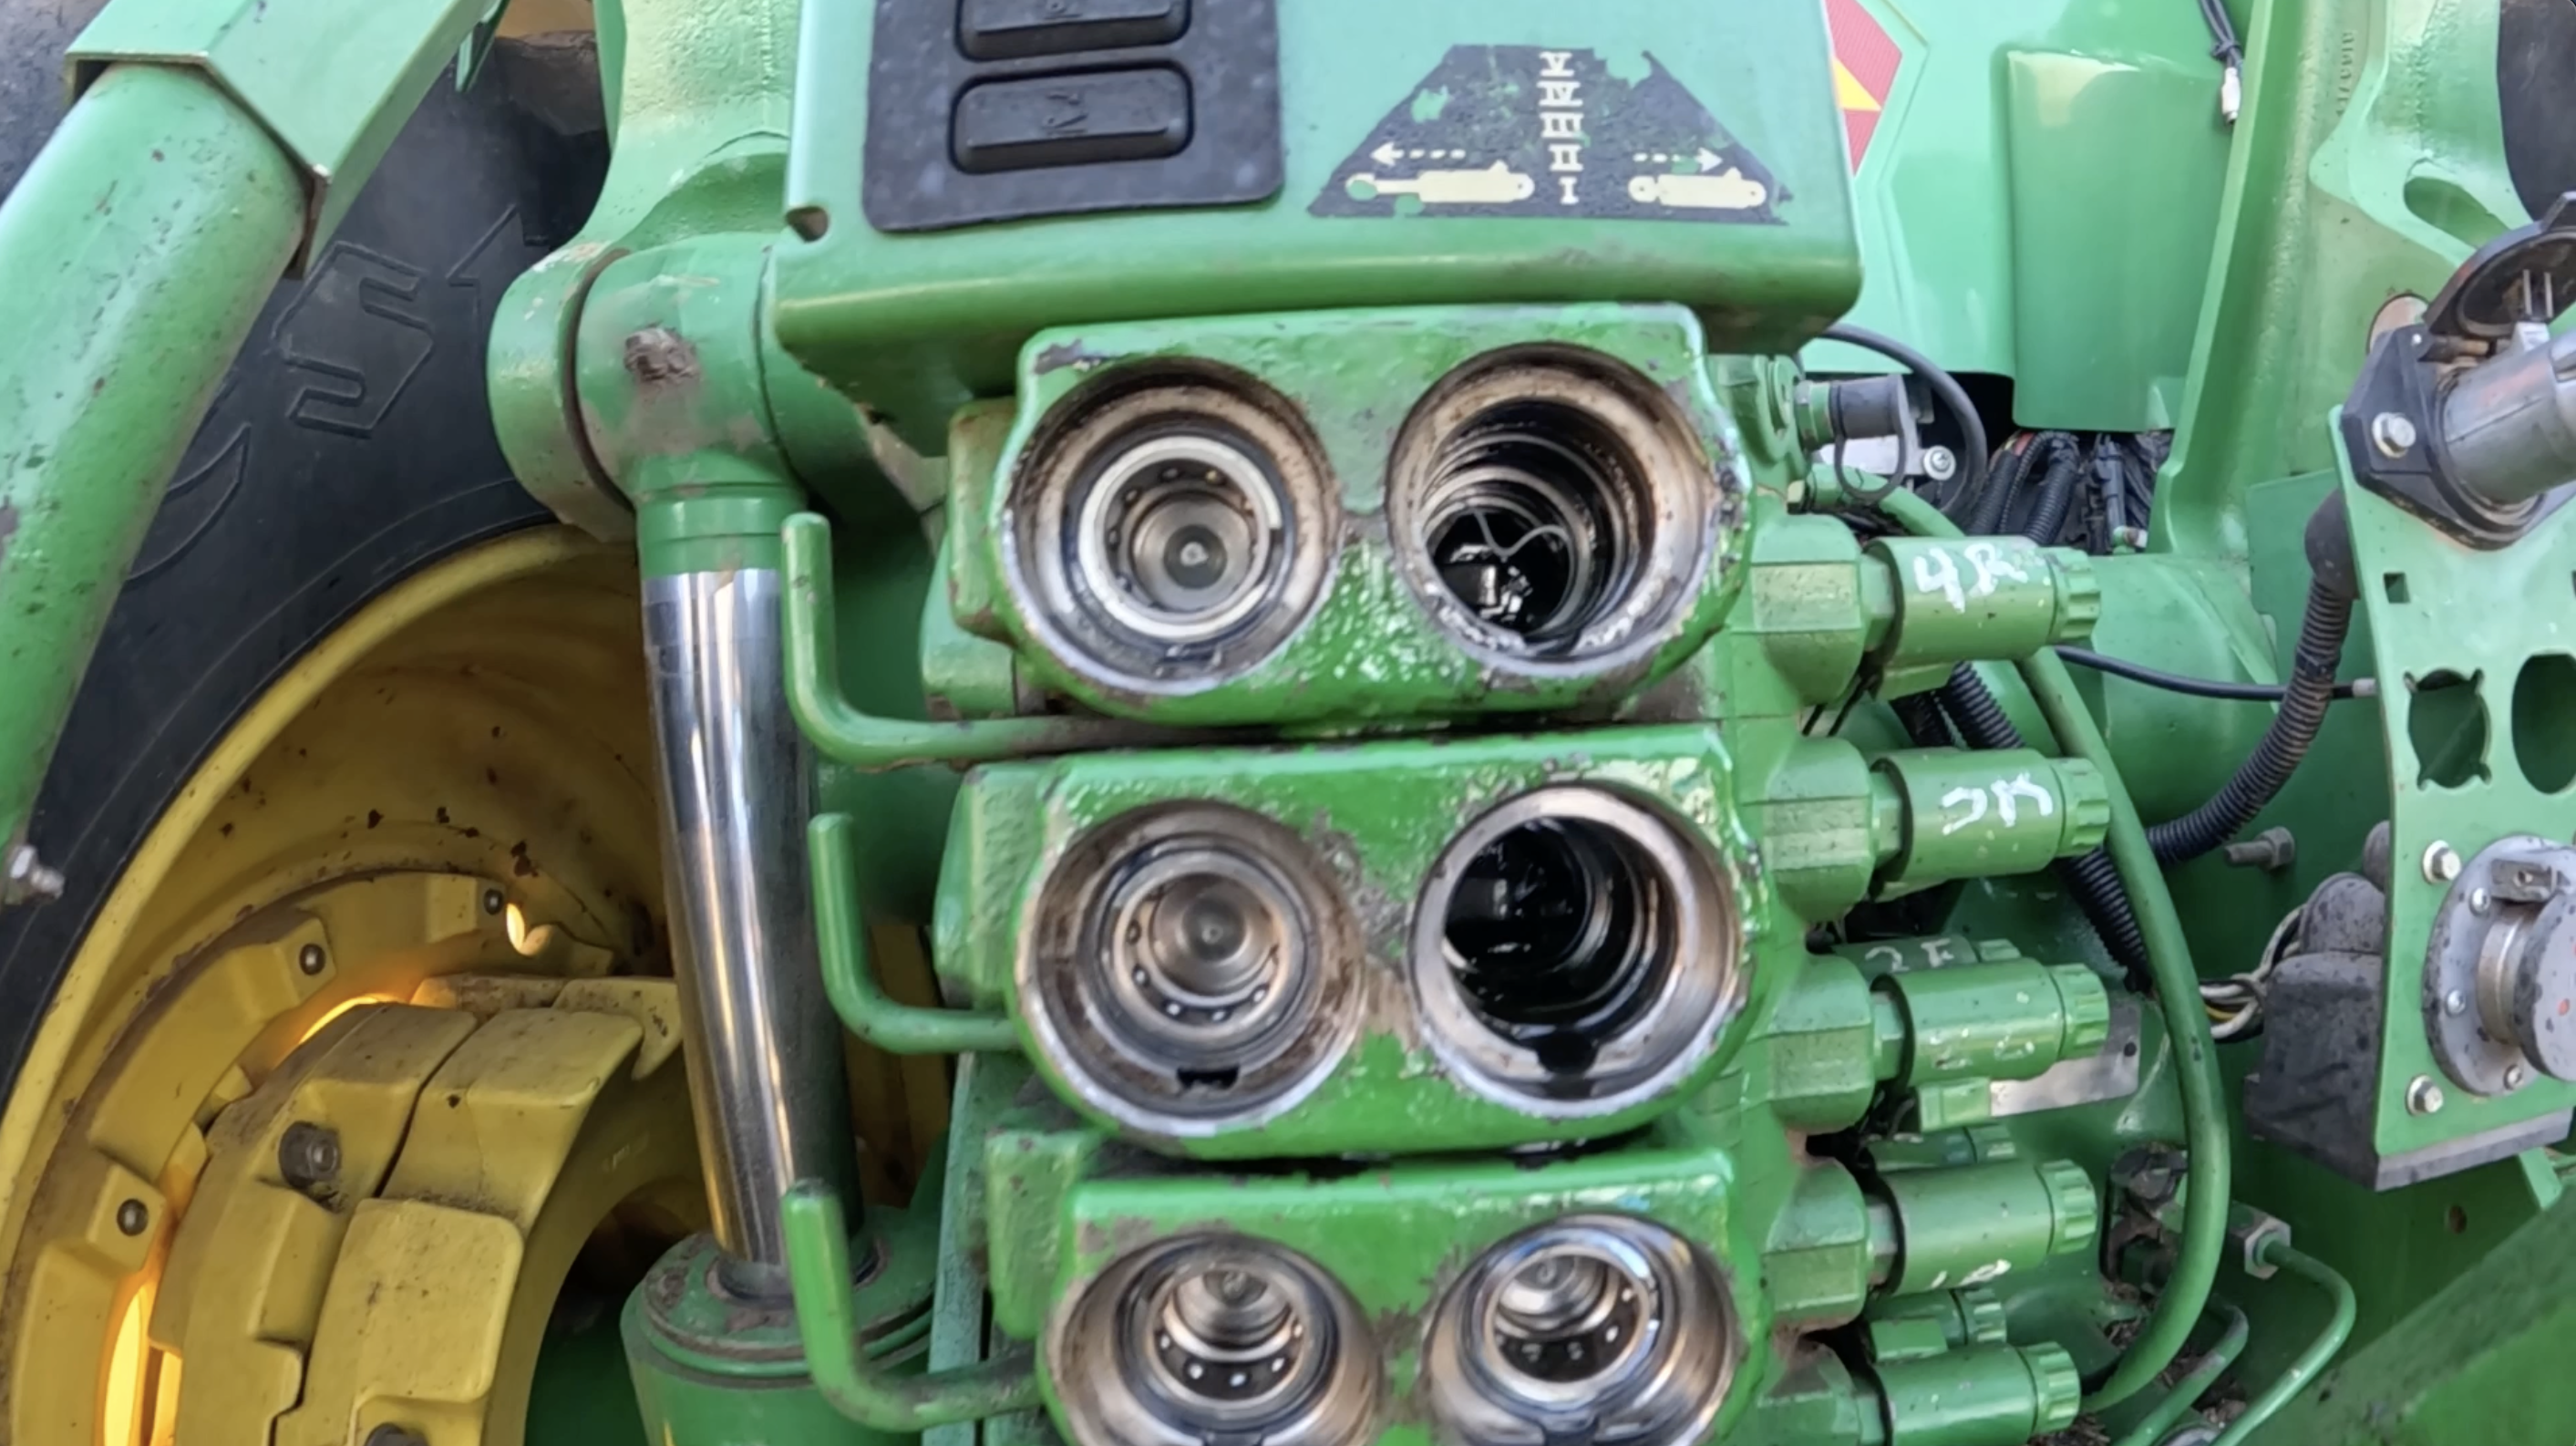
Push the SCV lever to release and slide the coupler out.
Note: If the internal white/yellow O-ring is blown, oil may leak everywhere, often appearing to leak from multiple spots because of how the drain passages are routed.
It’s good practice to replace the internal O-ring and backup ring while you’ve got the coupler out. Here’s how:
Use a pick to remove the old O-ring and backup ring from inside the housing.
Install the new O-ring first, working it into the groove evenly.
The backup ring can be tricky. I find it easiest to:
Hold it in place with a finger.
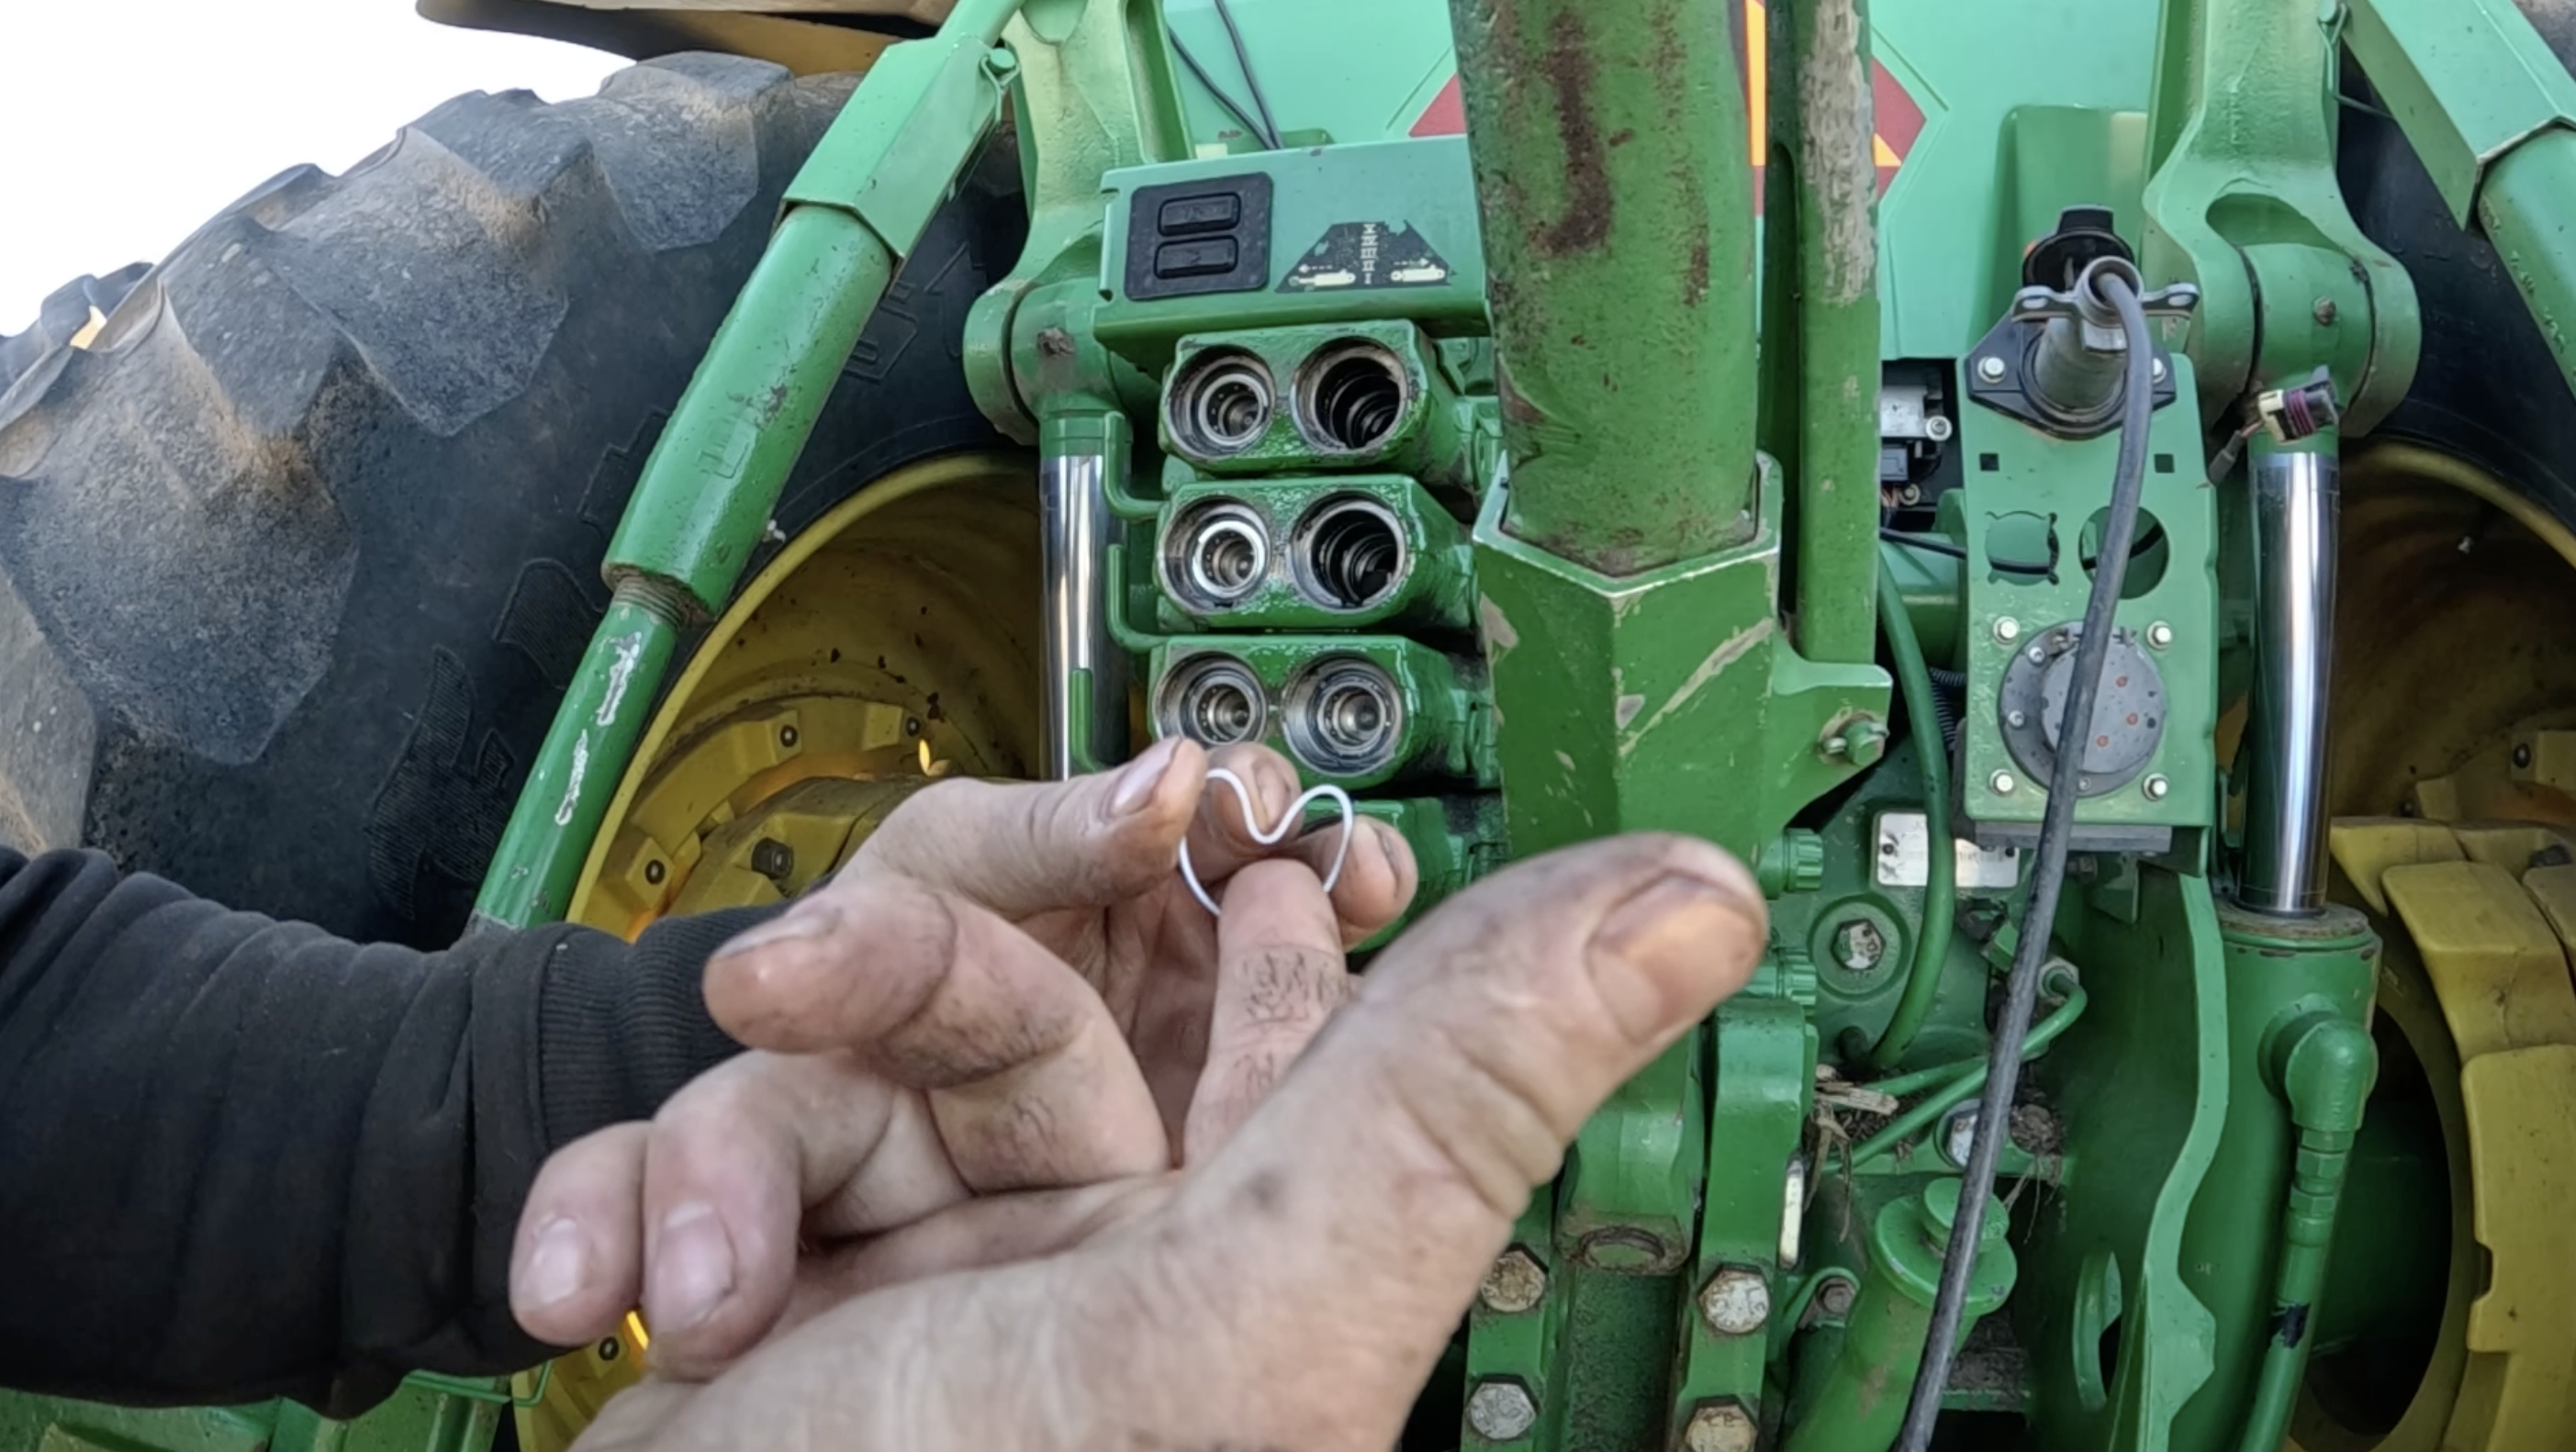
Use a pick to carefully work each side into the groove.
Push it fully into place to ensure it seats properly.
This step is crucial because a worn backup ring can cause internal leakage even if the coupler looks fine.
With the new O-rings installed, slide the new coupler into the housing.

It may stop partway—lightly tap it into place with a hammer and punch.

Reinstall the snap ring, ensuring it seats fully and doesn’t pop back out.
Double-check that everything is snug before reassembling the covers.
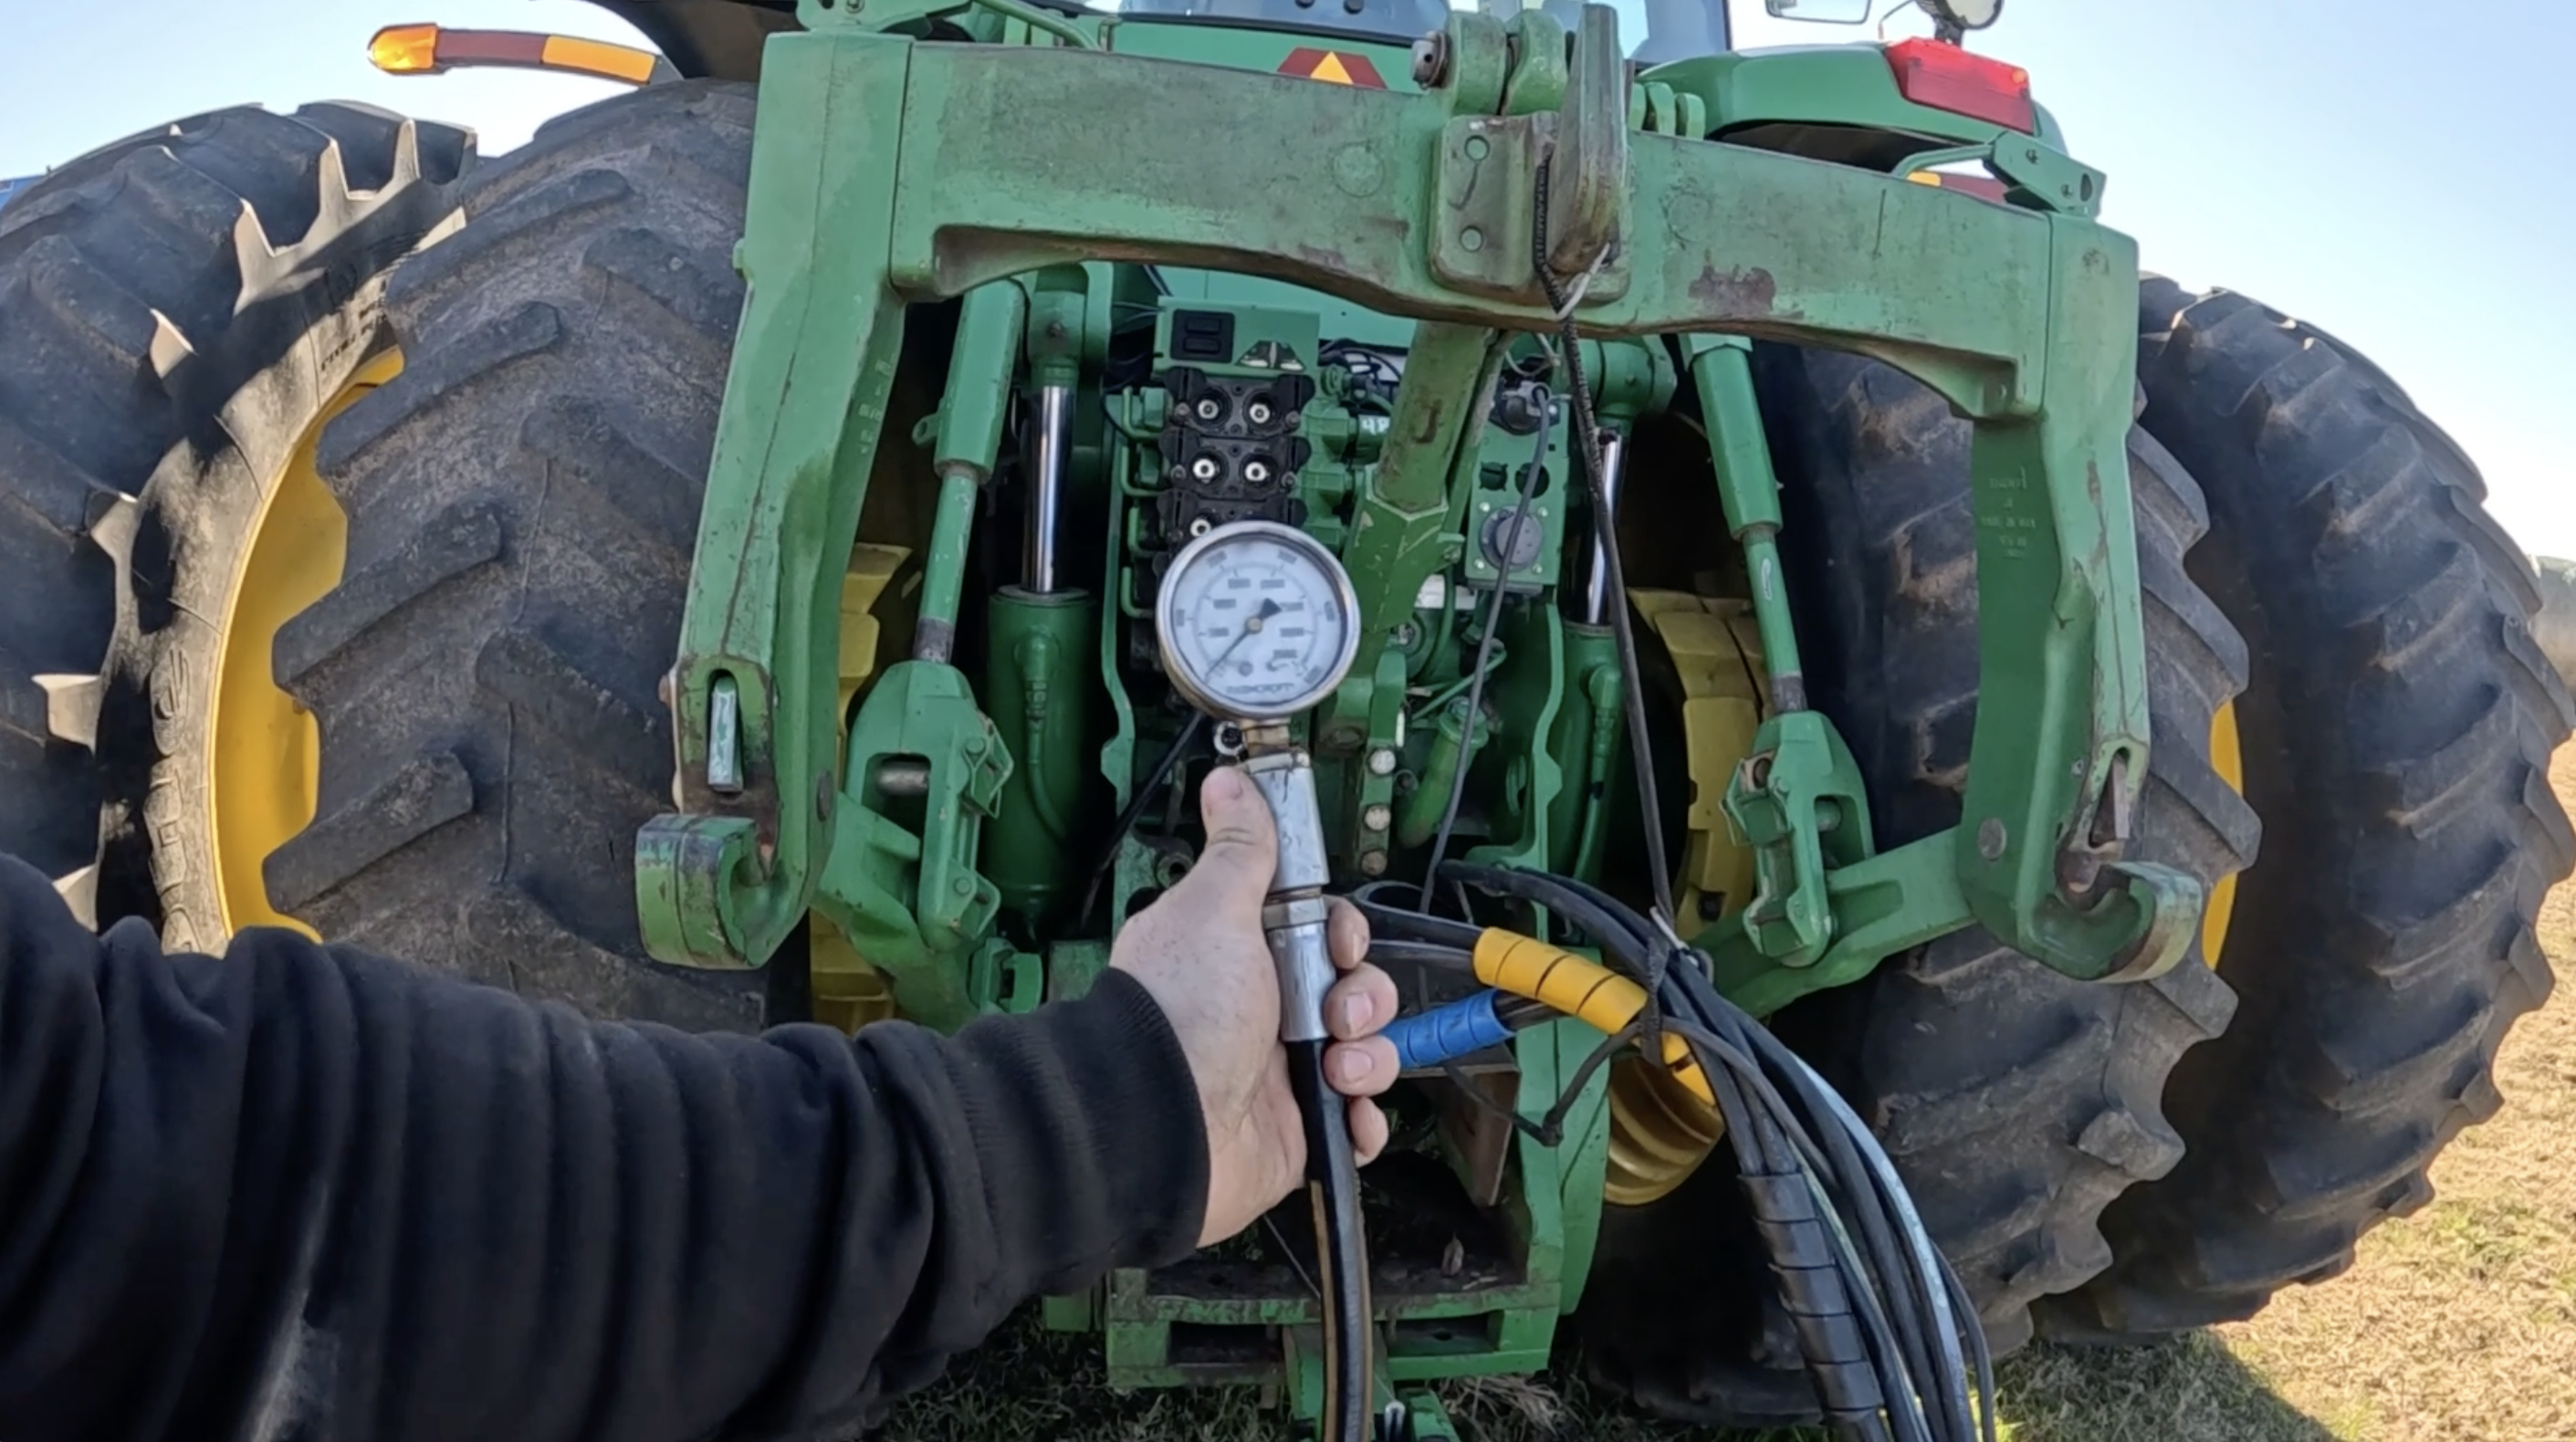
Once everything is back together:
Reattach your pressure gauges.
Activate the SCV lever and release.
Verify that the pressure holds steady without dropping rapidly.
The repair was successful on this John Deere tractor—no more pressure drop on couplers three and four after the fix.
Final Check: Always test your repairs before returning equipment to service. A simple pressure test confirms your work and avoids callbacks or further issues in the field.
 Compare {{items.length}}/4